Menu Categories
A menu is a section within a category menu that contains one entity, allowing to display it only for the roles that have access to it or disable its visibility within the app, each menu belongs to a specific category menu.
Why categories relate to menus?
Section titled “Why categories relate to menus?”Each menu is associated with a specific category menu. These are, basically, just logical divisions that can be used to show the information in different ways.
How to access to the Menu Categories module?
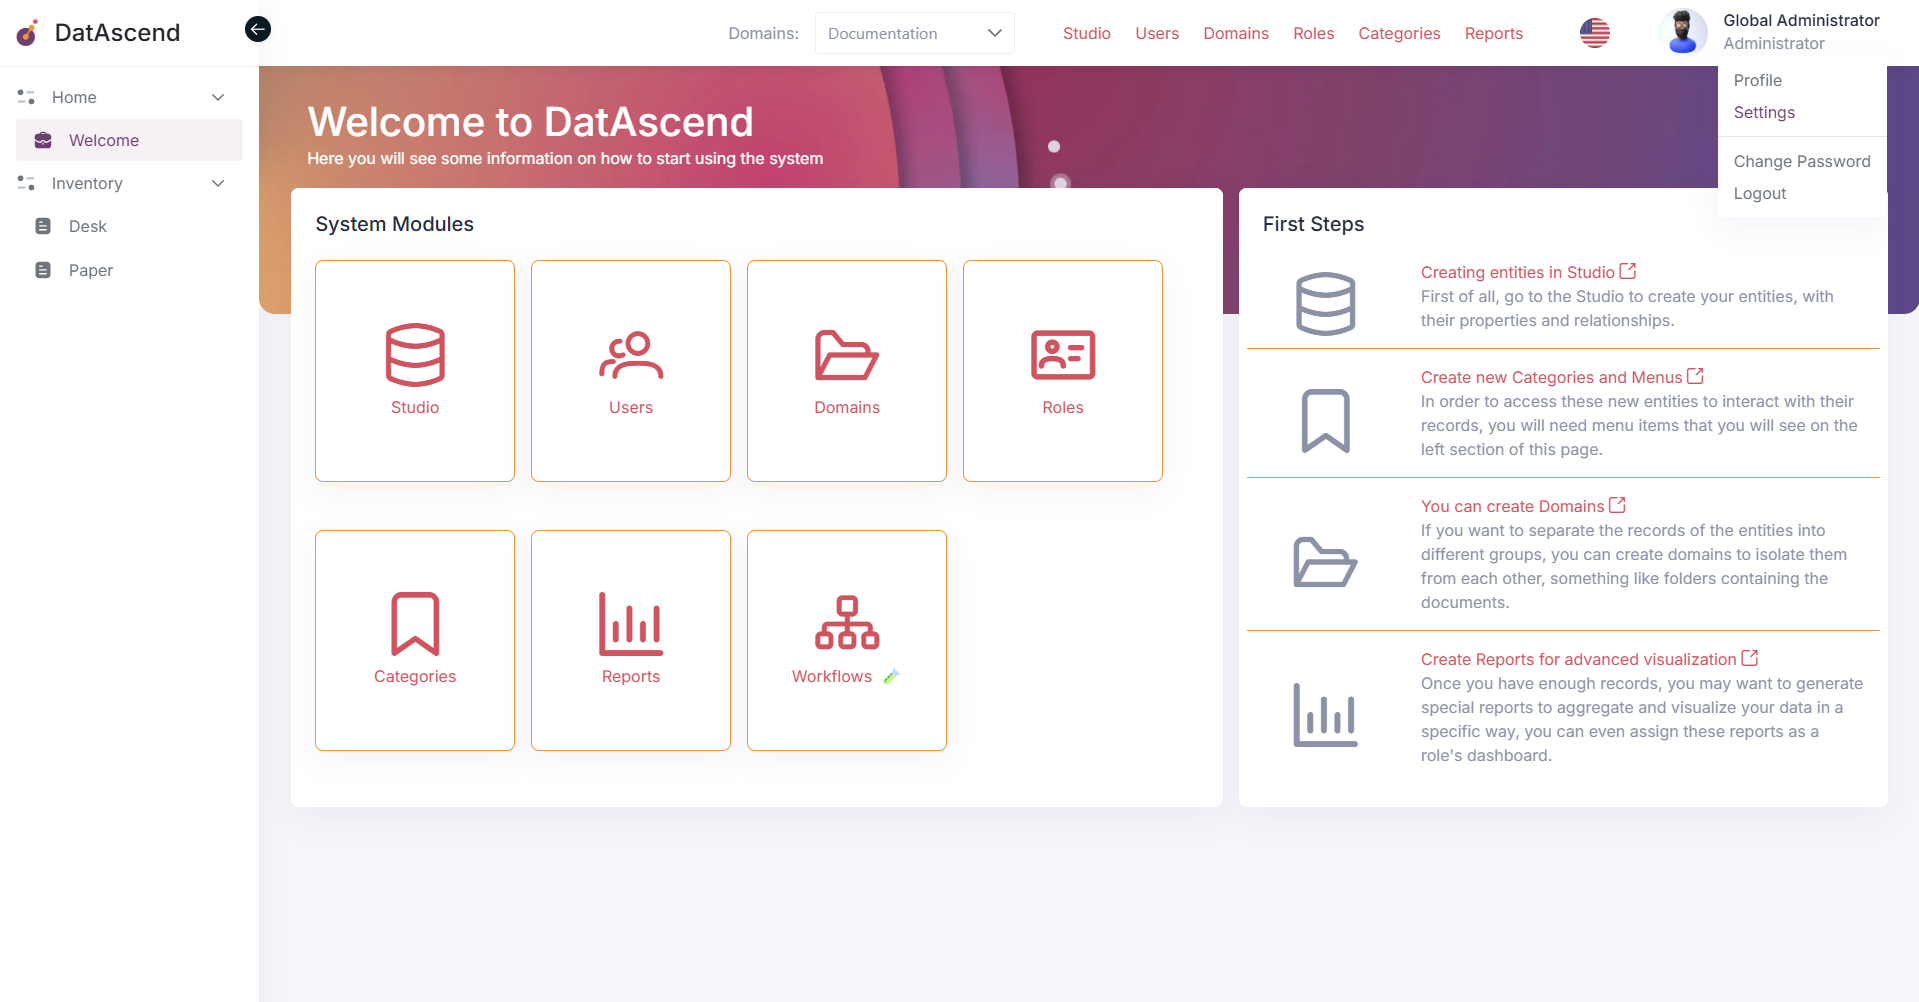
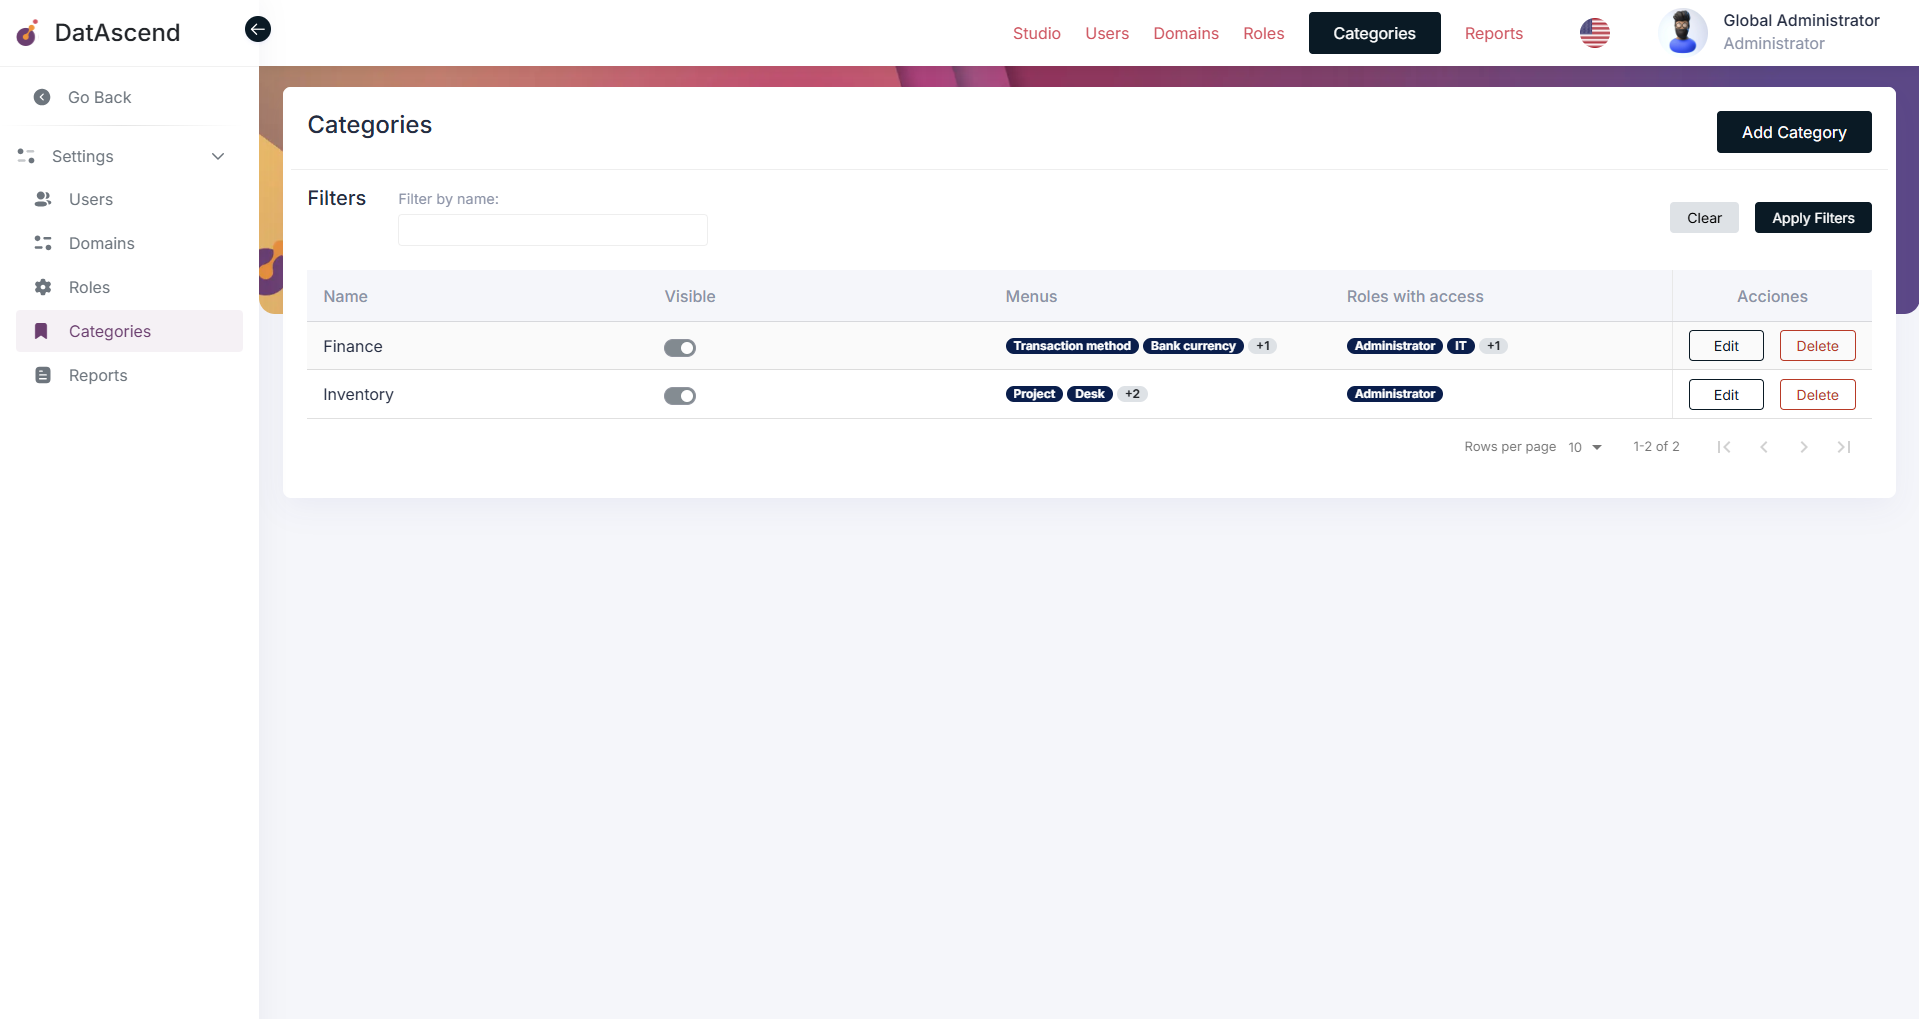
Section titled “How to access to the Menu Categories module?”To access the Menu Categories module, you can use the global navigation or the settings panel. First, go to the settings page by clicking on the profile top right corner and selecting “Settings”. Then, in the settings panel, you will find the “Categories” option in the sidebar.
How to create a new Menu Category?
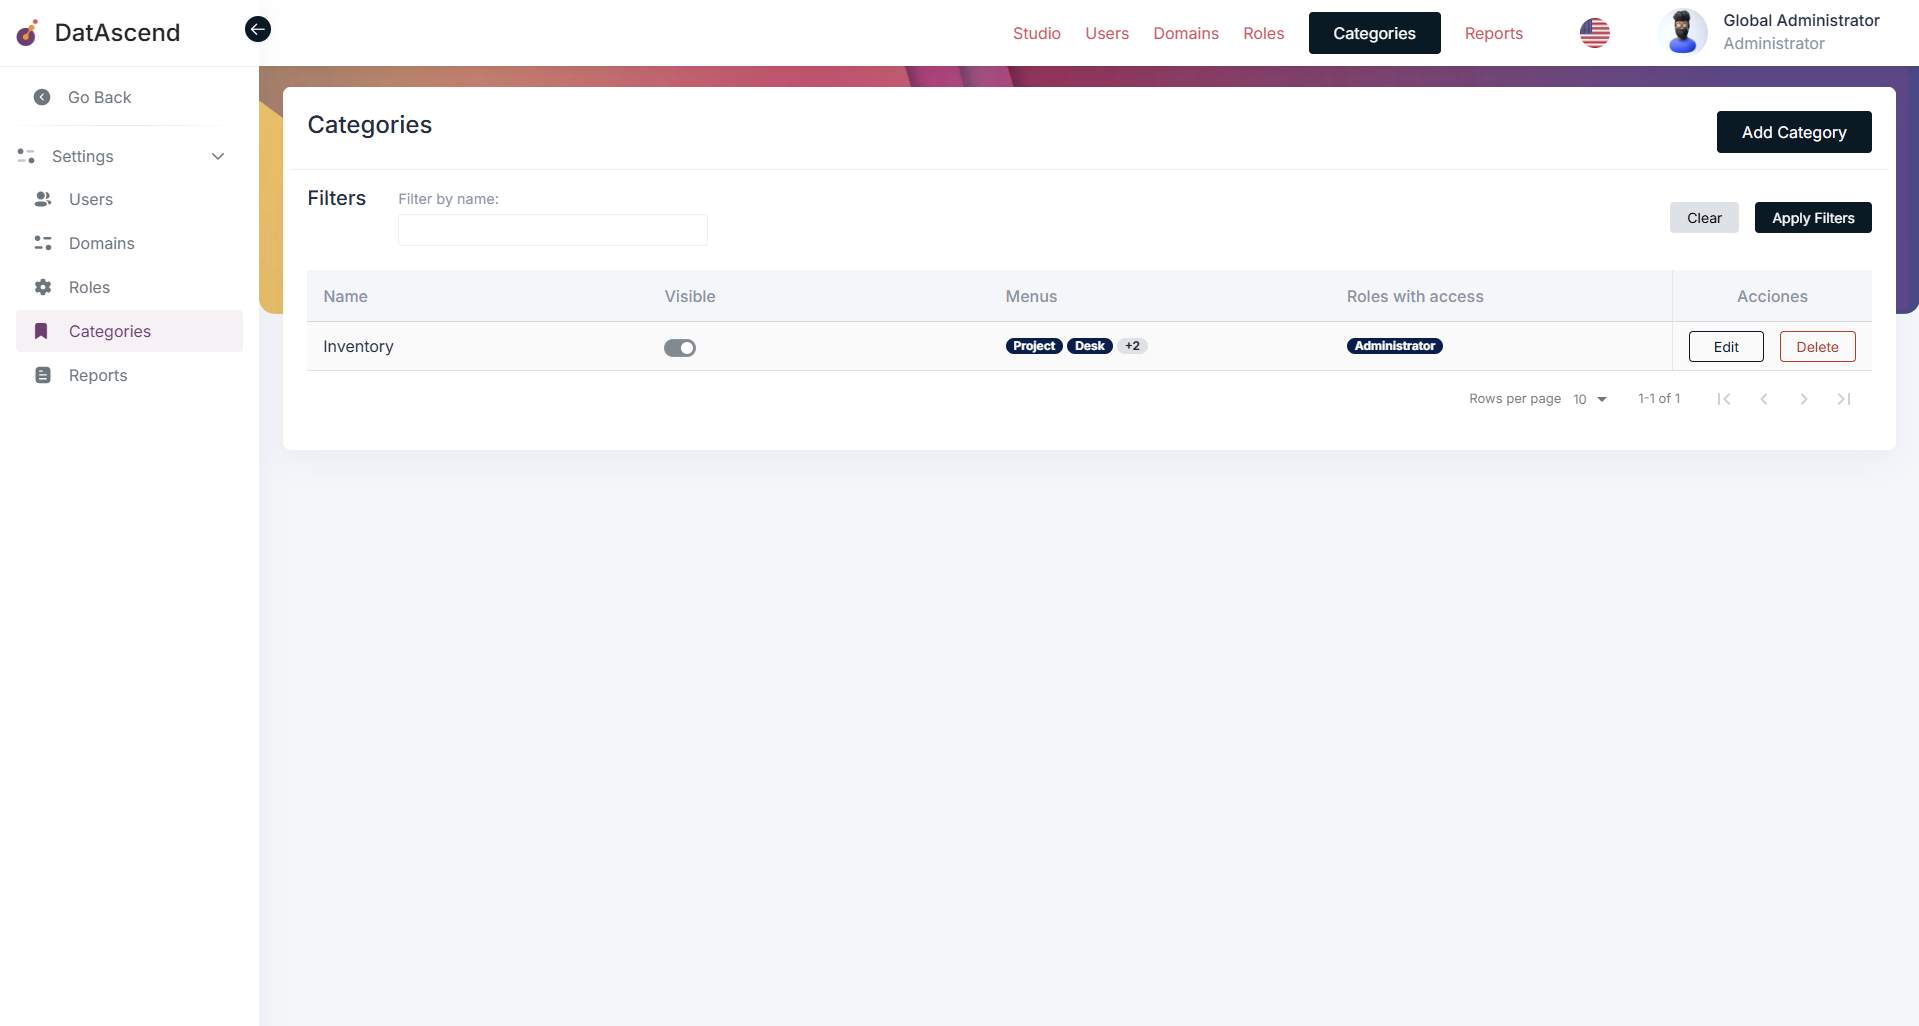
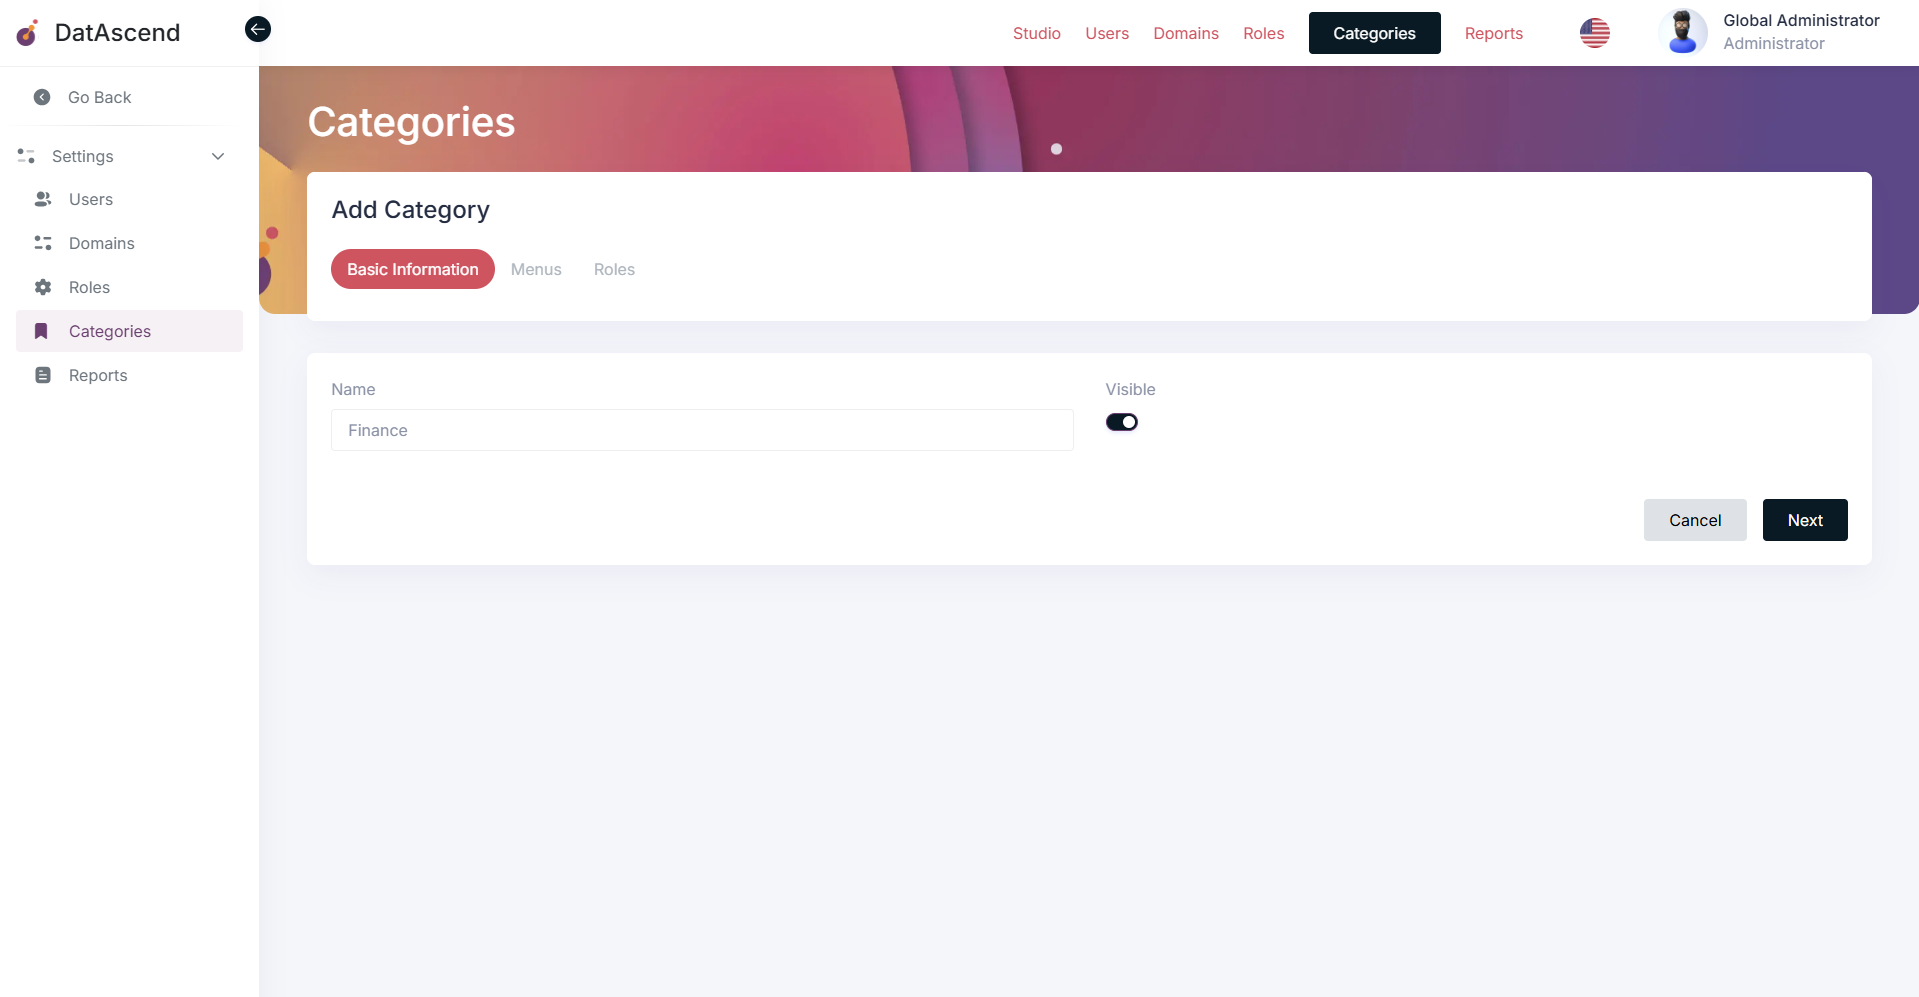
Section titled “How to create a new Menu Category?”To create a new Menu Category, click on the “Add Category” button located at the top right corner of the page. The next screen will display a form where you can enter the details of the new category, as name and visibility.
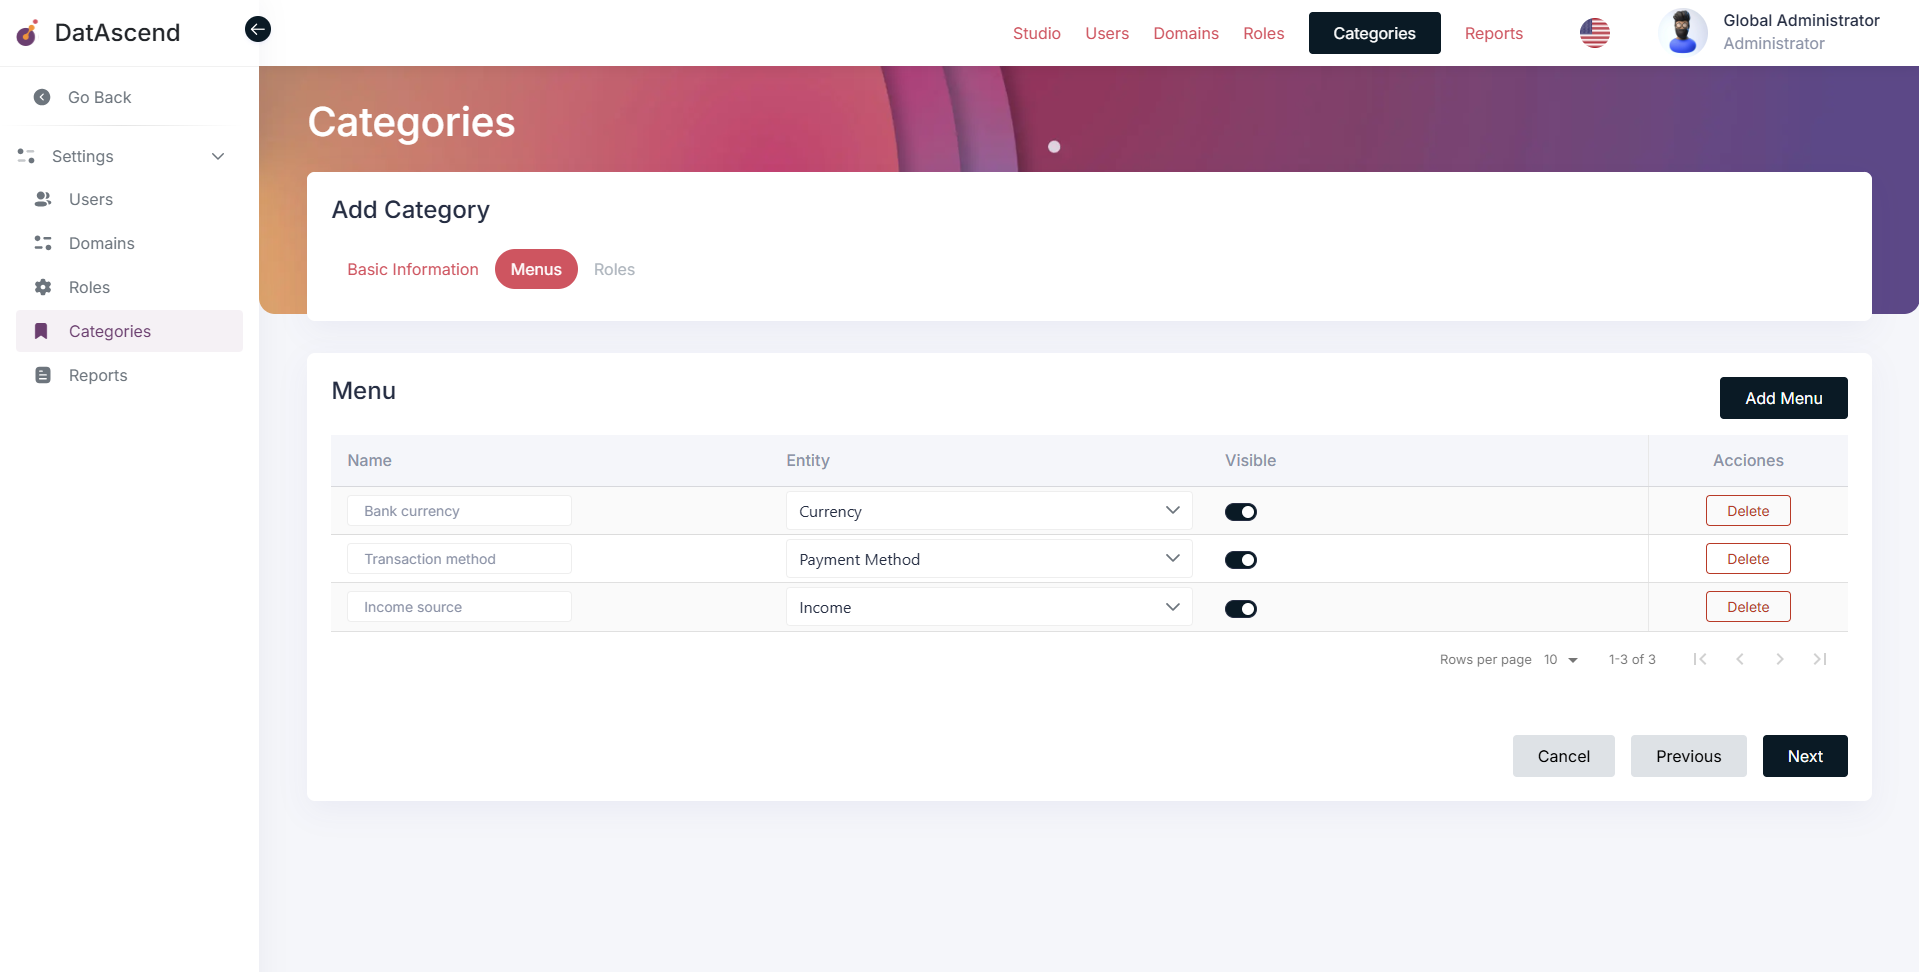
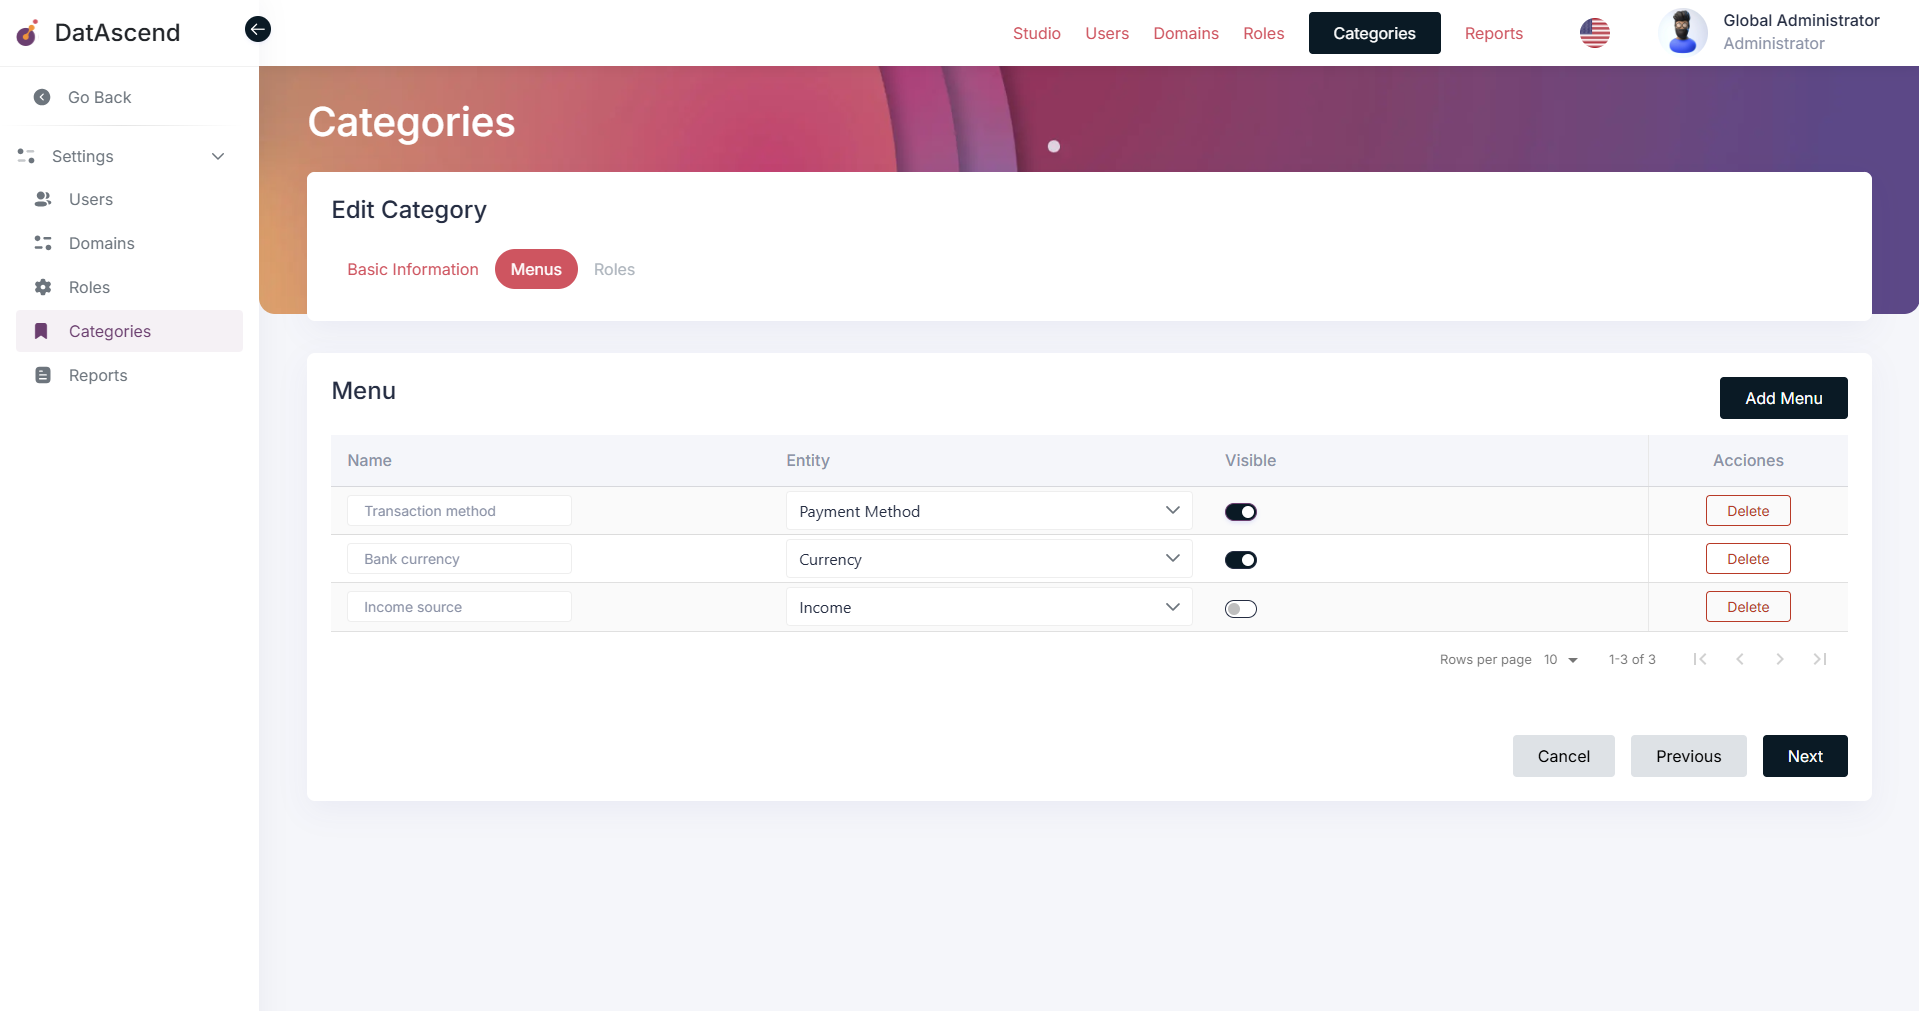
After filling in the form, click on the “Next” button to proceed to the next step. The following screen will show a list of menus that can be assigned to the category. To create a new menu, click on the “Add Menu” button located at the top right corner of the page. Each menu can be assigned to a specific entity, and you can also set its label for the menu and its visibility.
Once you have added the desired menus, click on the “Next” button to proceed to the final step. Here, you can assign the category to specific roles, so that only users with those roles can see the category and its menus.

Finally, click on the “Save” button to create the new Menu Category with its associated menus and role assignments.
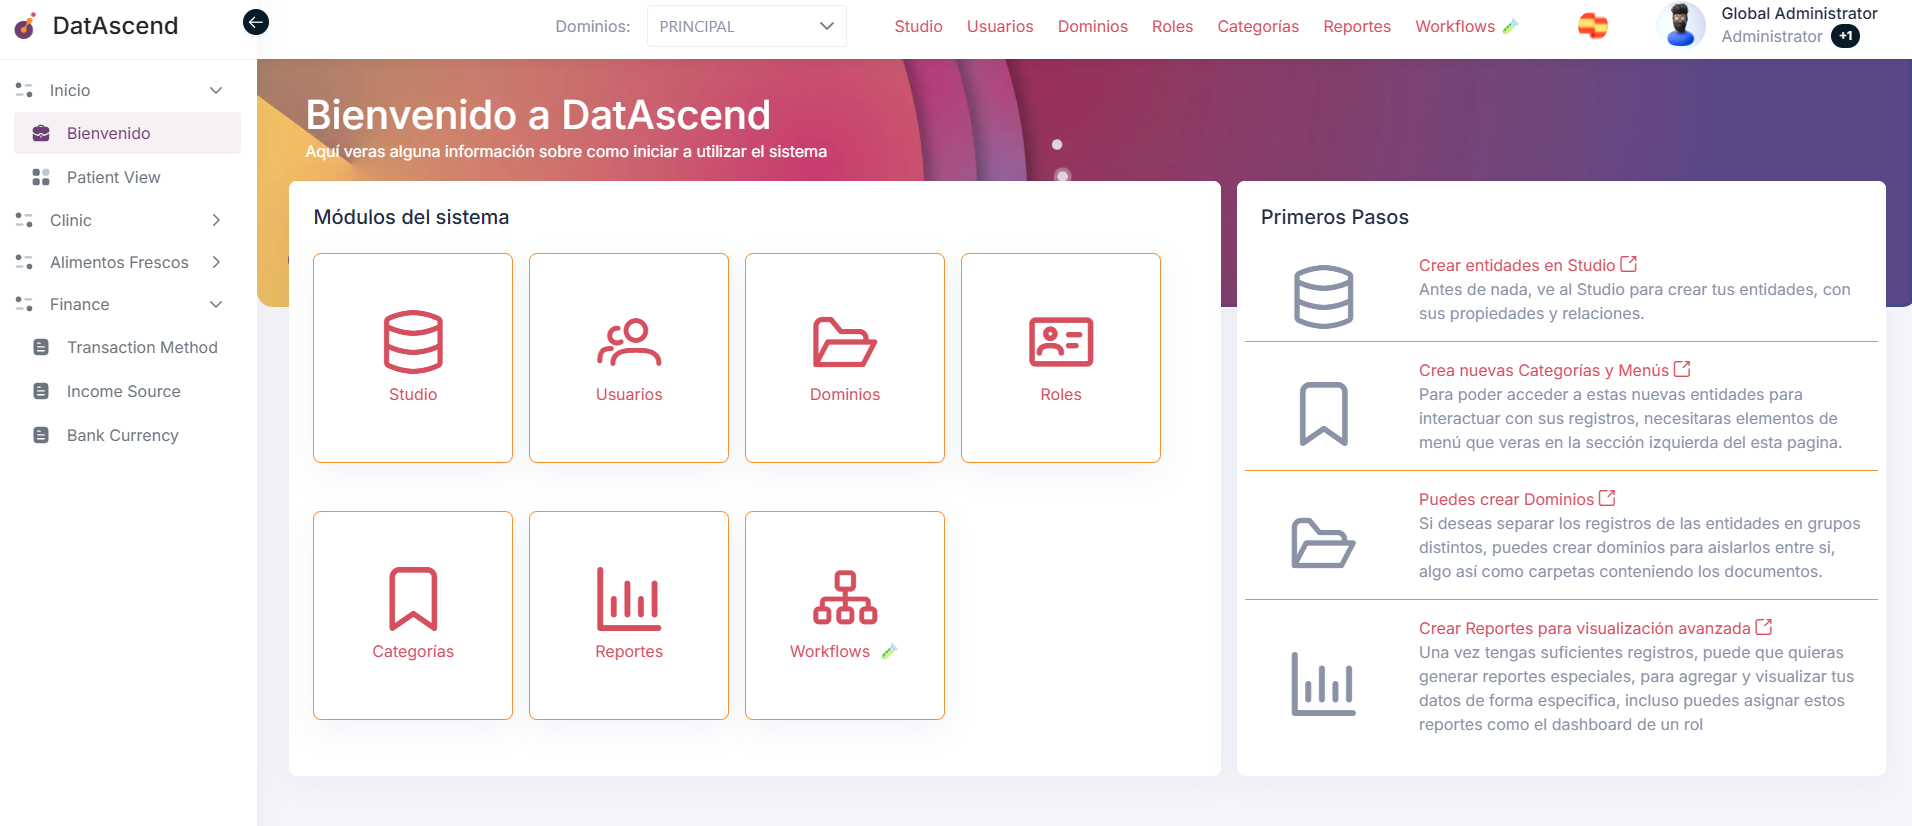
The users of the roles assigned to the category will be able to see it in the sidebar menu of the application as follows:
How to edit a Menu Category?
Section titled “How to edit a Menu Category?”To edit a Menu Category, go to the “Categories” section in the settings panel. Find the category you want to edit in the list and click on the “Edit” button next to it.
Follow each step of the editing process, the same way as when creating a new category. Make the necessary changes to the category details, menus, and role assignments. For example, you can change delete menus or change its visibility as shown below:
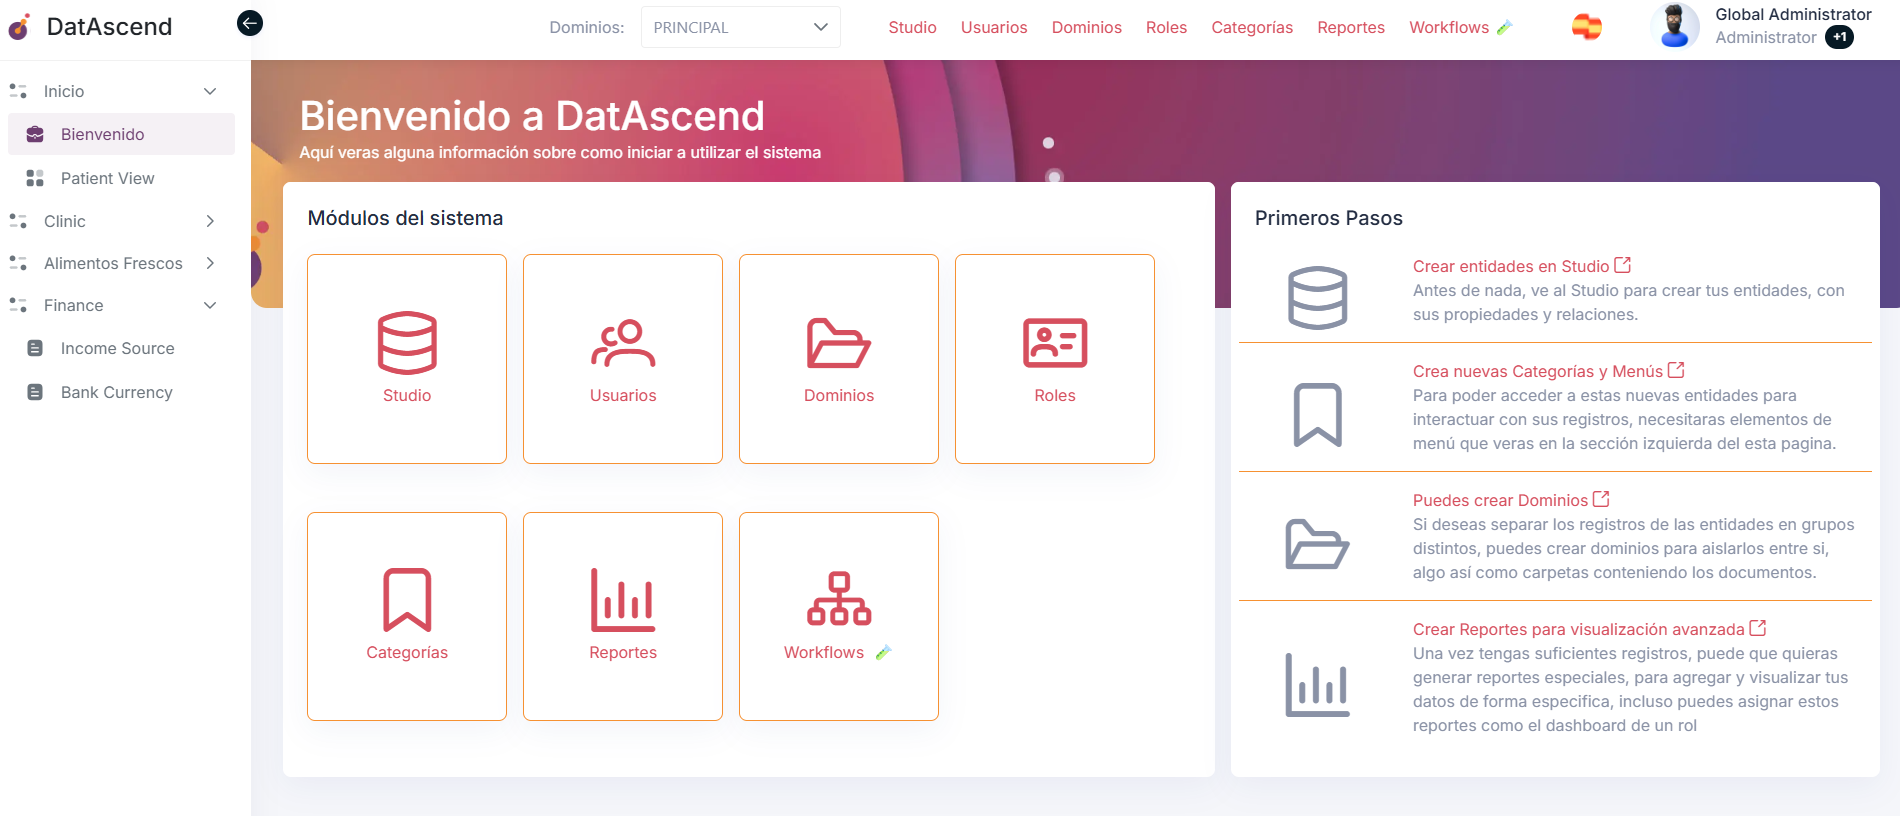
After making the desired changes, click on the “Save” from the last step to update the Menu Category with the new information. That will update the category and its associated menus and role assignments accordingly, also users will see the changes in the sidebar menu of the application after update happens and they refresh the page.
How to delete a Menu Category?
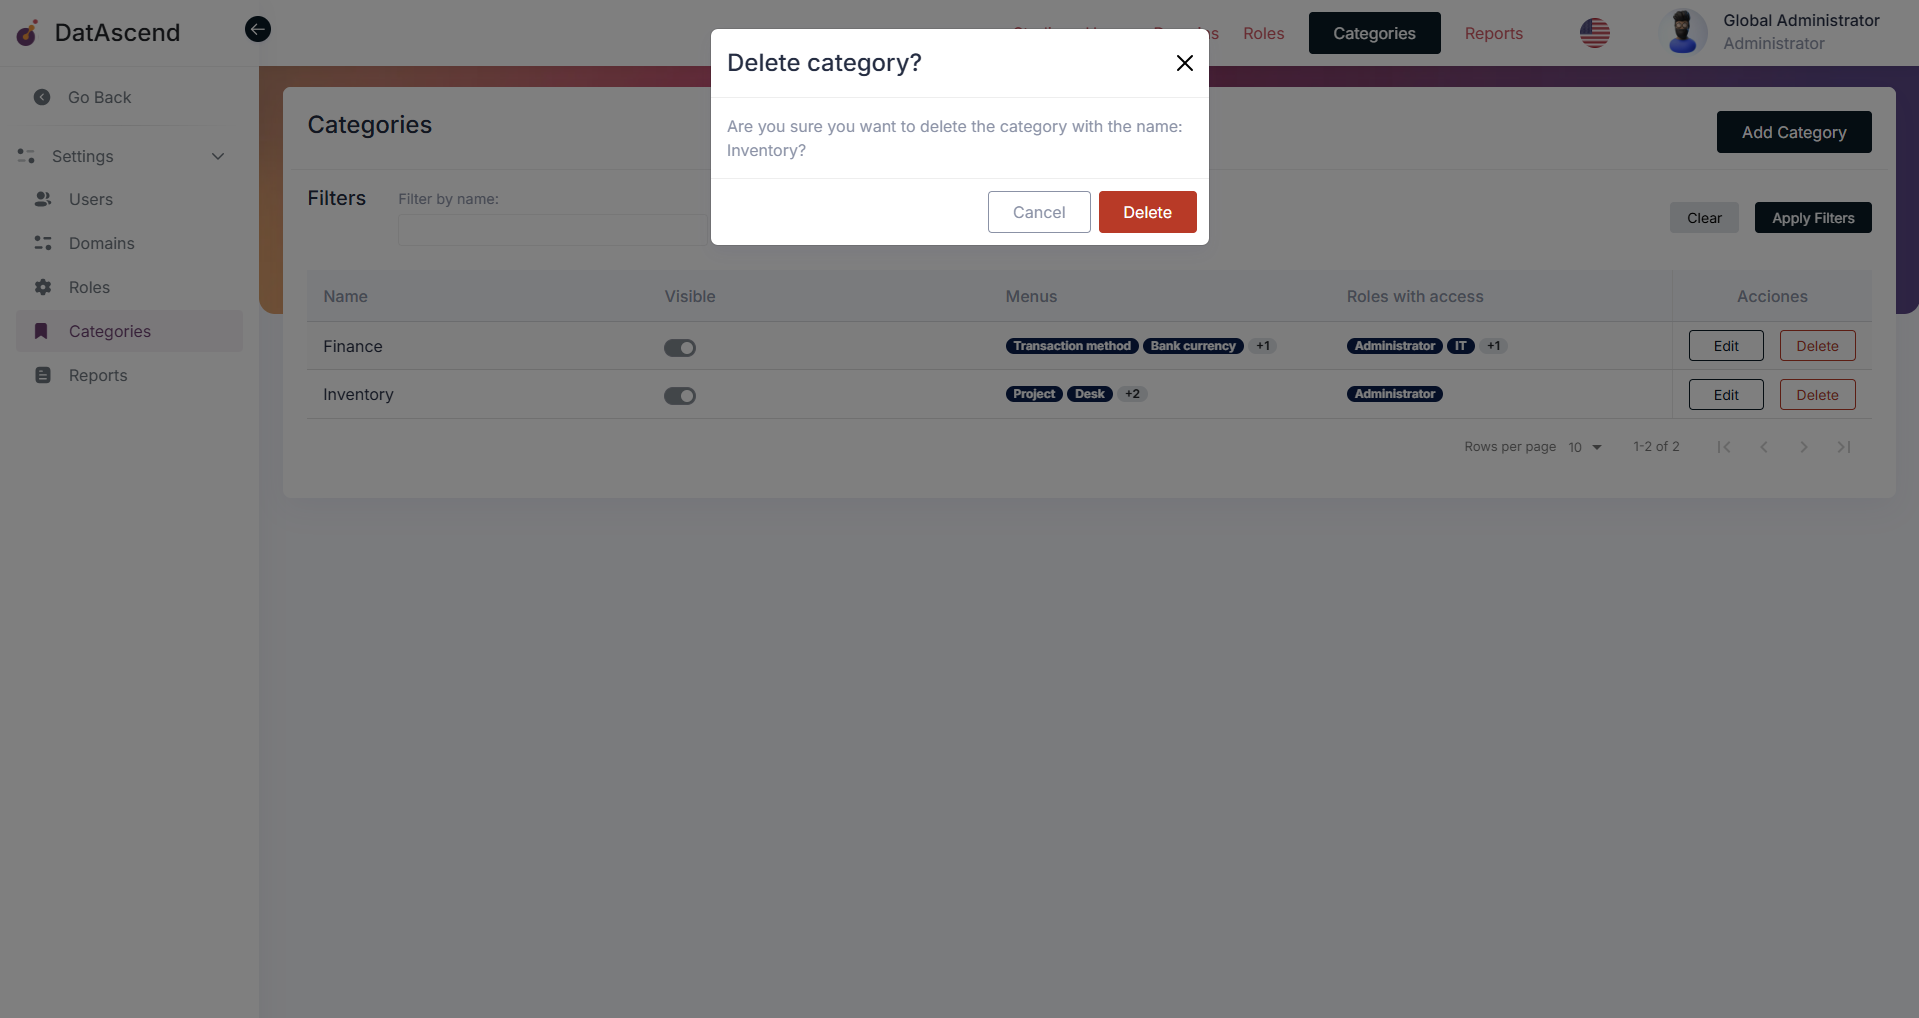
Section titled “How to delete a Menu Category?”To delete a Menu Category, go to the “Categories” section in the settings panel. Find the category you want to delete in the list and click on the “Delete” button next to it.
A confirmation dialog will appear to ensure that you want to delete the category. Click on the “Delete” button in the dialog to confirm the deletion, this action is irreversible.
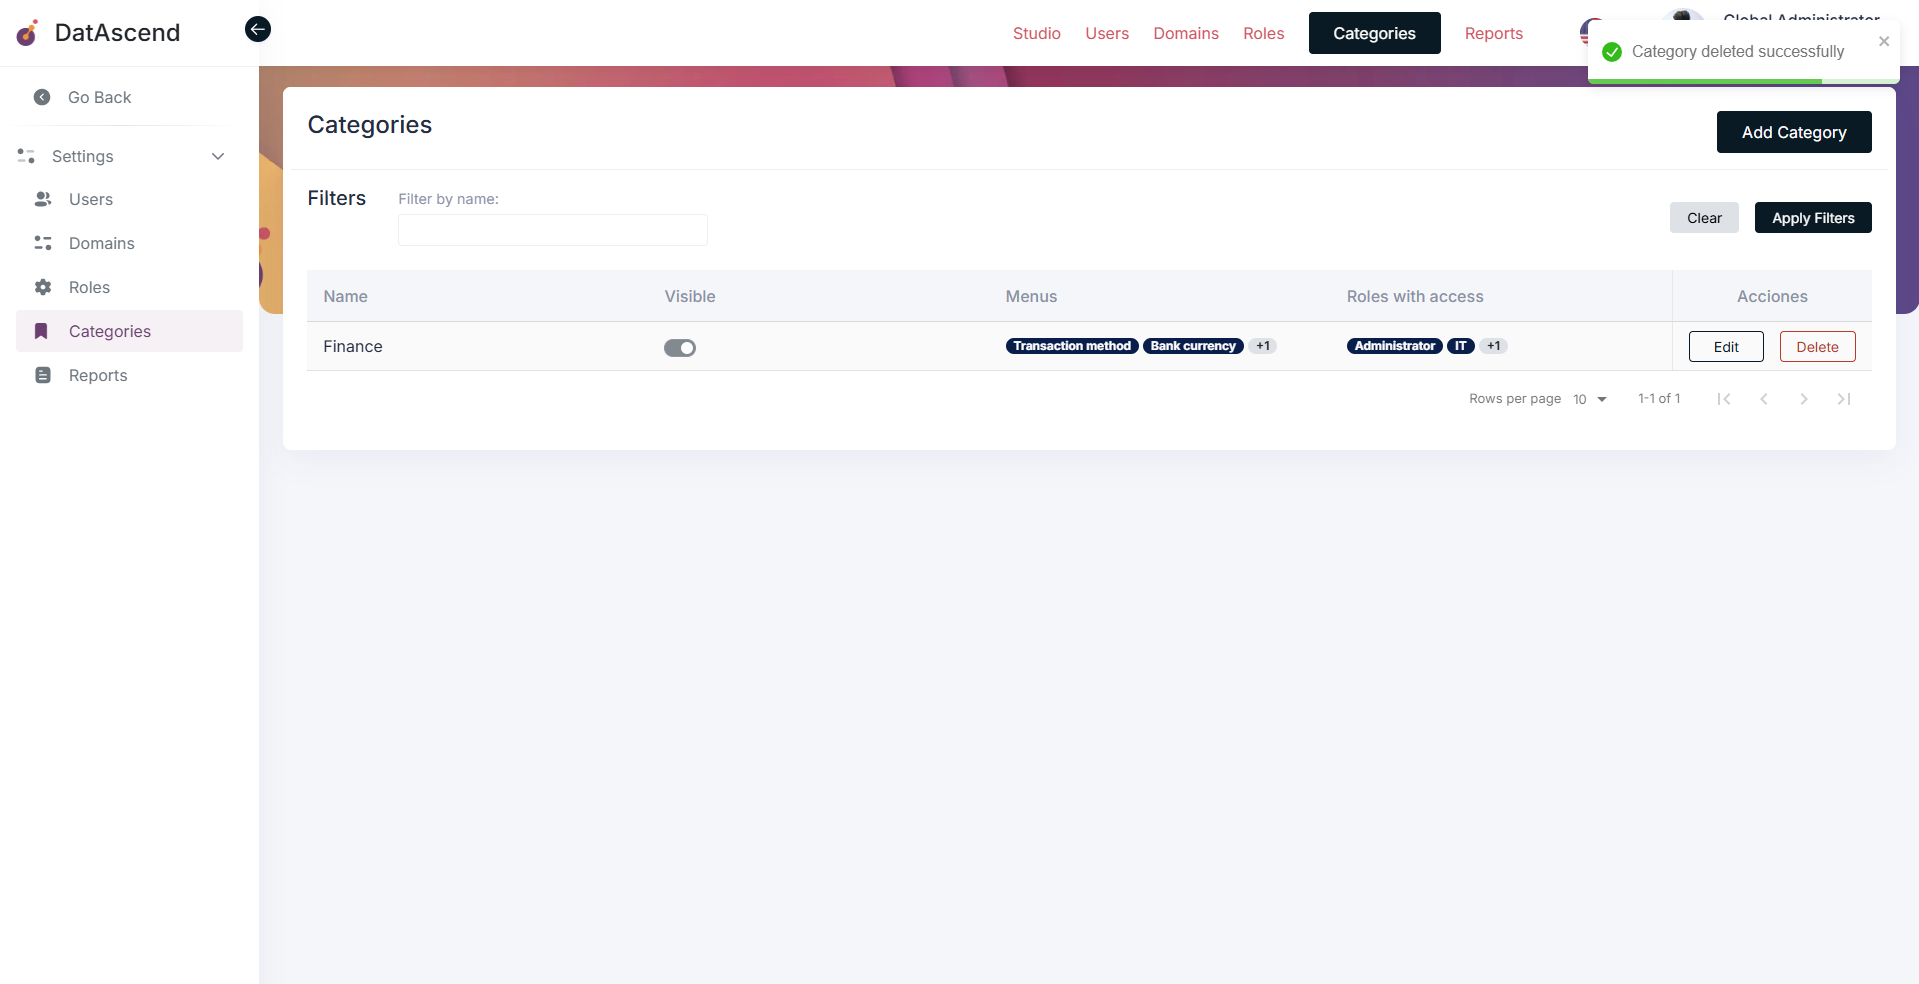
The list will be updated to reflect the deletion of the Menu Category, and it will no longer be available in the application. You will see also a notification on top right corner indicating that the category has been successfully deleted.
Tips and common mistakes
Section titled “Tips and common mistakes”- The name of the menu is the name that will be displayed in the sidebar menu of the application and represents the entity assigned to it.
- The name of the entity could differ from the name of the menu, so you can set a more user-friendly name for it, please consider that.
- When creating or editing a category, double-check the menus assigned to it to ensure they are correct and relevant.
- Make sure to assign the category to the appropriate roles to ensure that only authorized users can access it.
- Remember that deleting a category is irreversible, so be cautious when performing this action.