Entities
What is an entity and why is it important?
Section titled “What is an entity and why is it important?”An Entity is the main data structure DatAscend revolts around, you can see Entities as tables in a database,
or collections in a noSQL database, or an excel table for the non technicals.
What can it do
Section titled “What can it do”Entities can have:
- Properties - To hold information, like name or description
- Relations - To point to other records from another Entities, like items assigned to a category in an inventory system
- Translations - Currently supporting English and Spanish label translations to both Properties and Relations
- Permissions - A set of permissions per role to indicate what can be done to this entity by those roles
- Configurations - Entity specific configurations to describe some behaviors like which fields to be used to list the entitie’s records across the system
How to access the entity creation section?
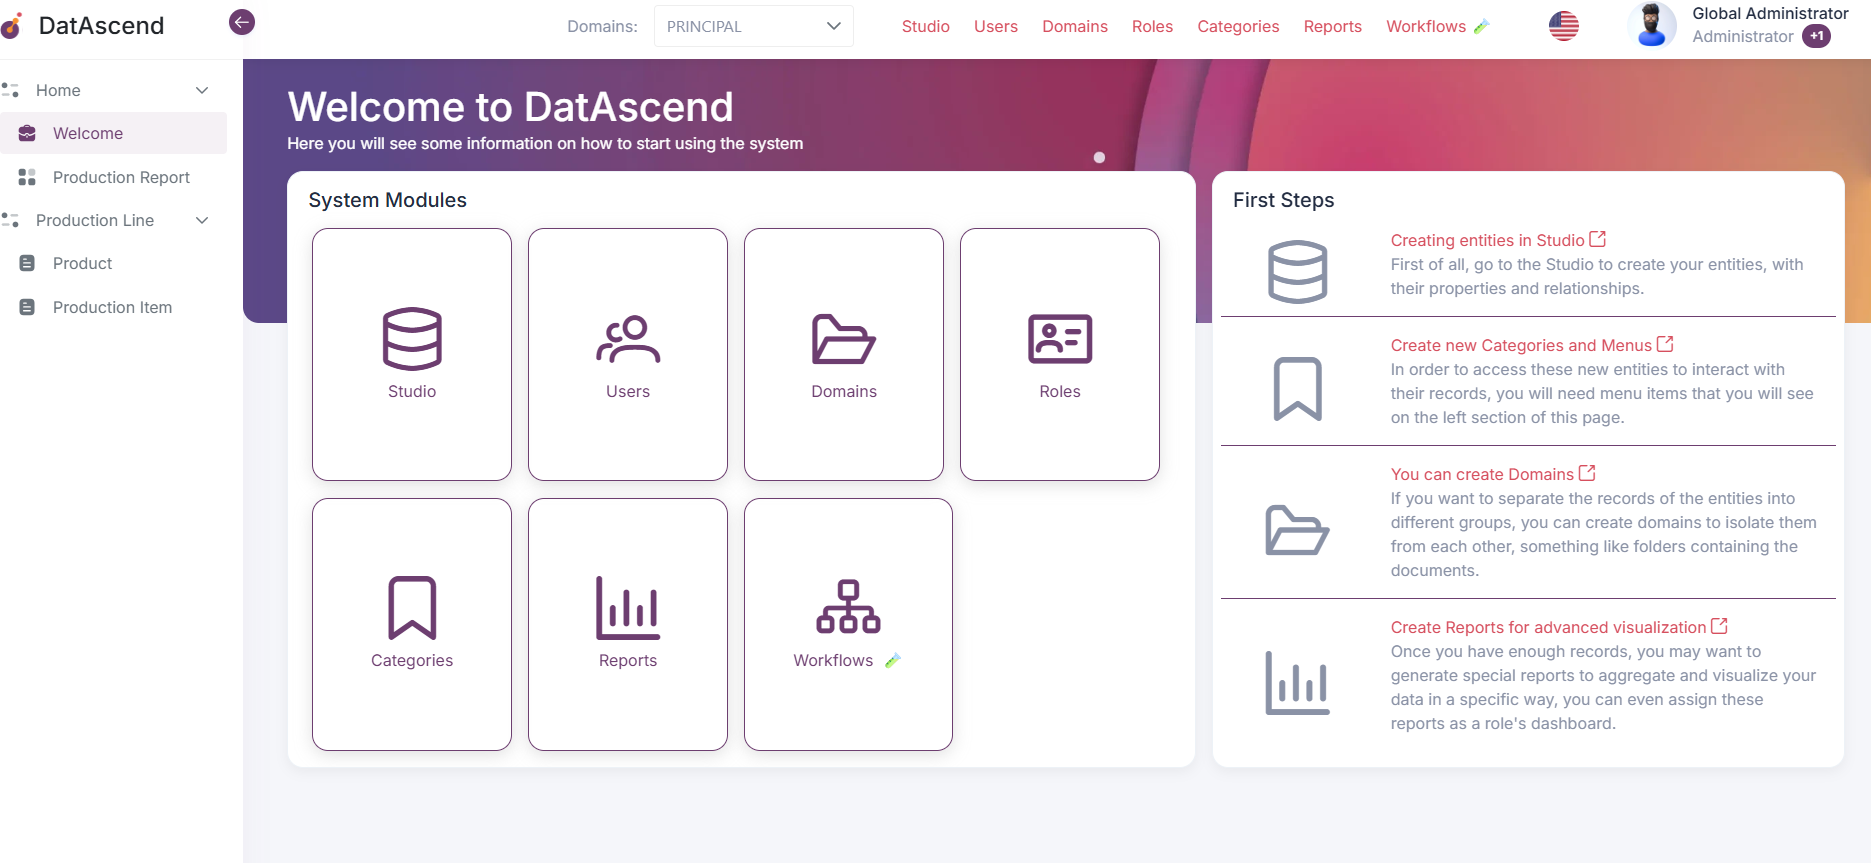
Section titled “How to access the entity creation section?”- The place to create, edit or generally manipulate Entities is the Studio. To enter it you can simply click the
Studionavigation item on the header of the page.Note:
- You need to be assigned to an Administrator role in order to see or even access the Studio
- If you are on the welcome page, you can also click the
Studiocard
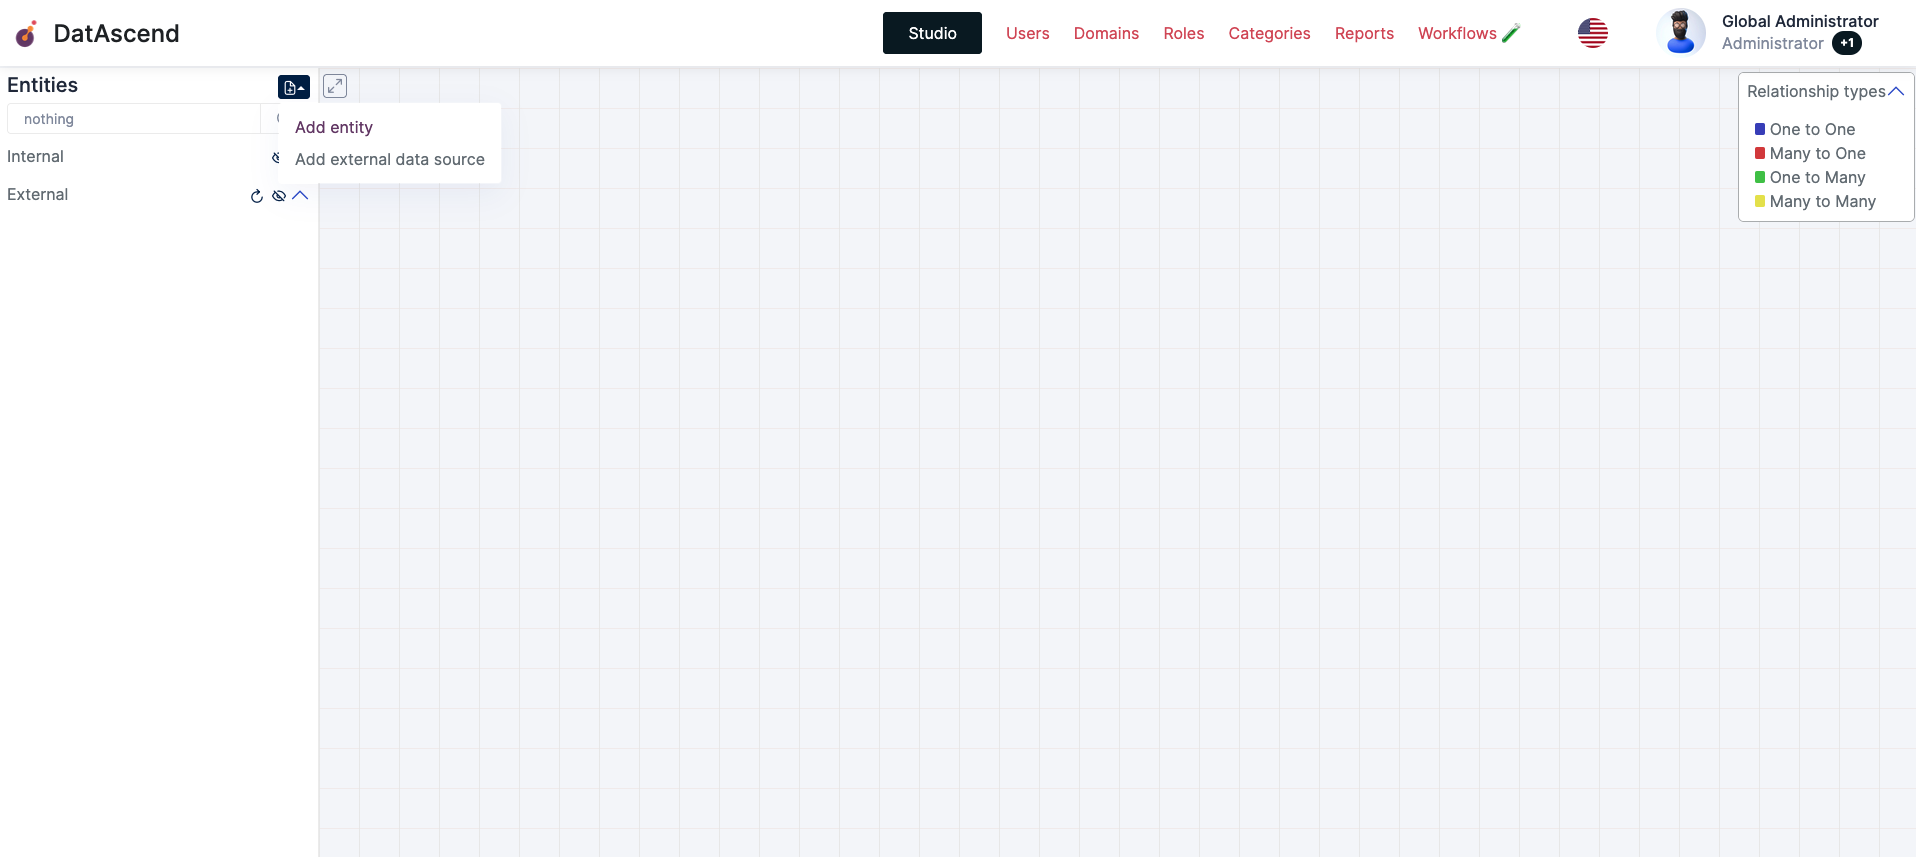
- Once on the
Studioclick on the litle button with the document plus icon, and selectAdd Entity
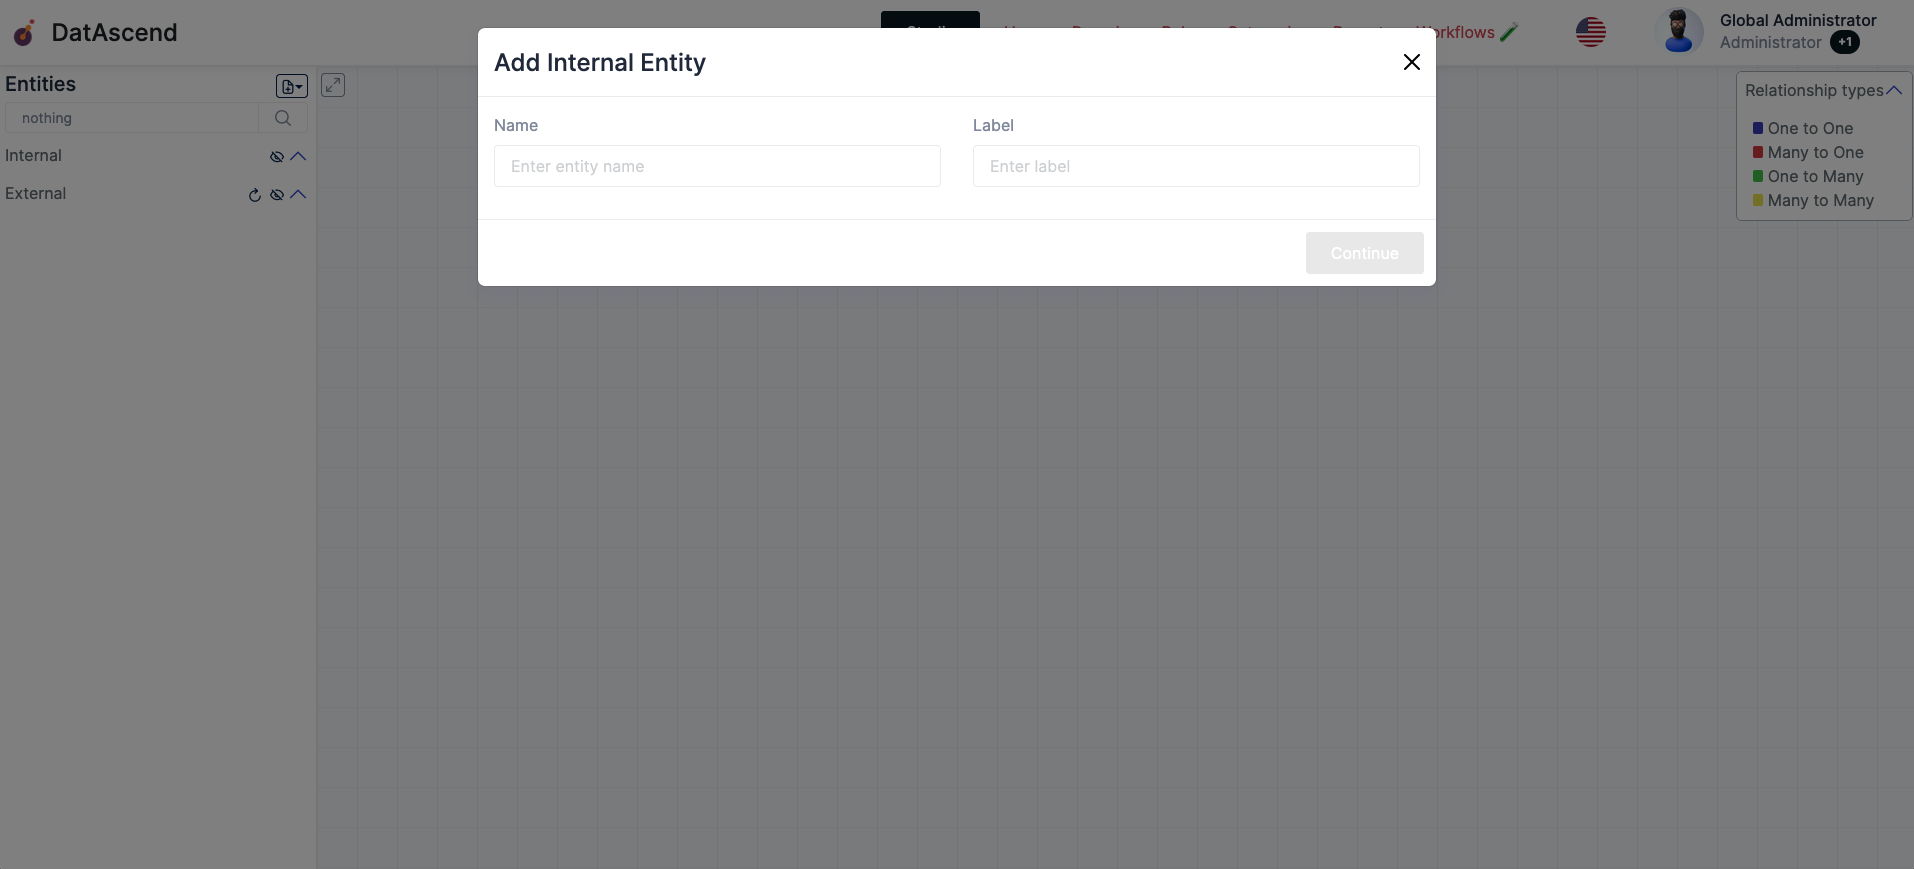
- You will see the following modal, where you need to provide
NameandLabelwhere the Name will be the unique name for this entity, and the label its the friendly readable name for users
Notes:
NameandLabelcannot be edited once the entity is created- The
Nameis automatically scaped to a system safe text
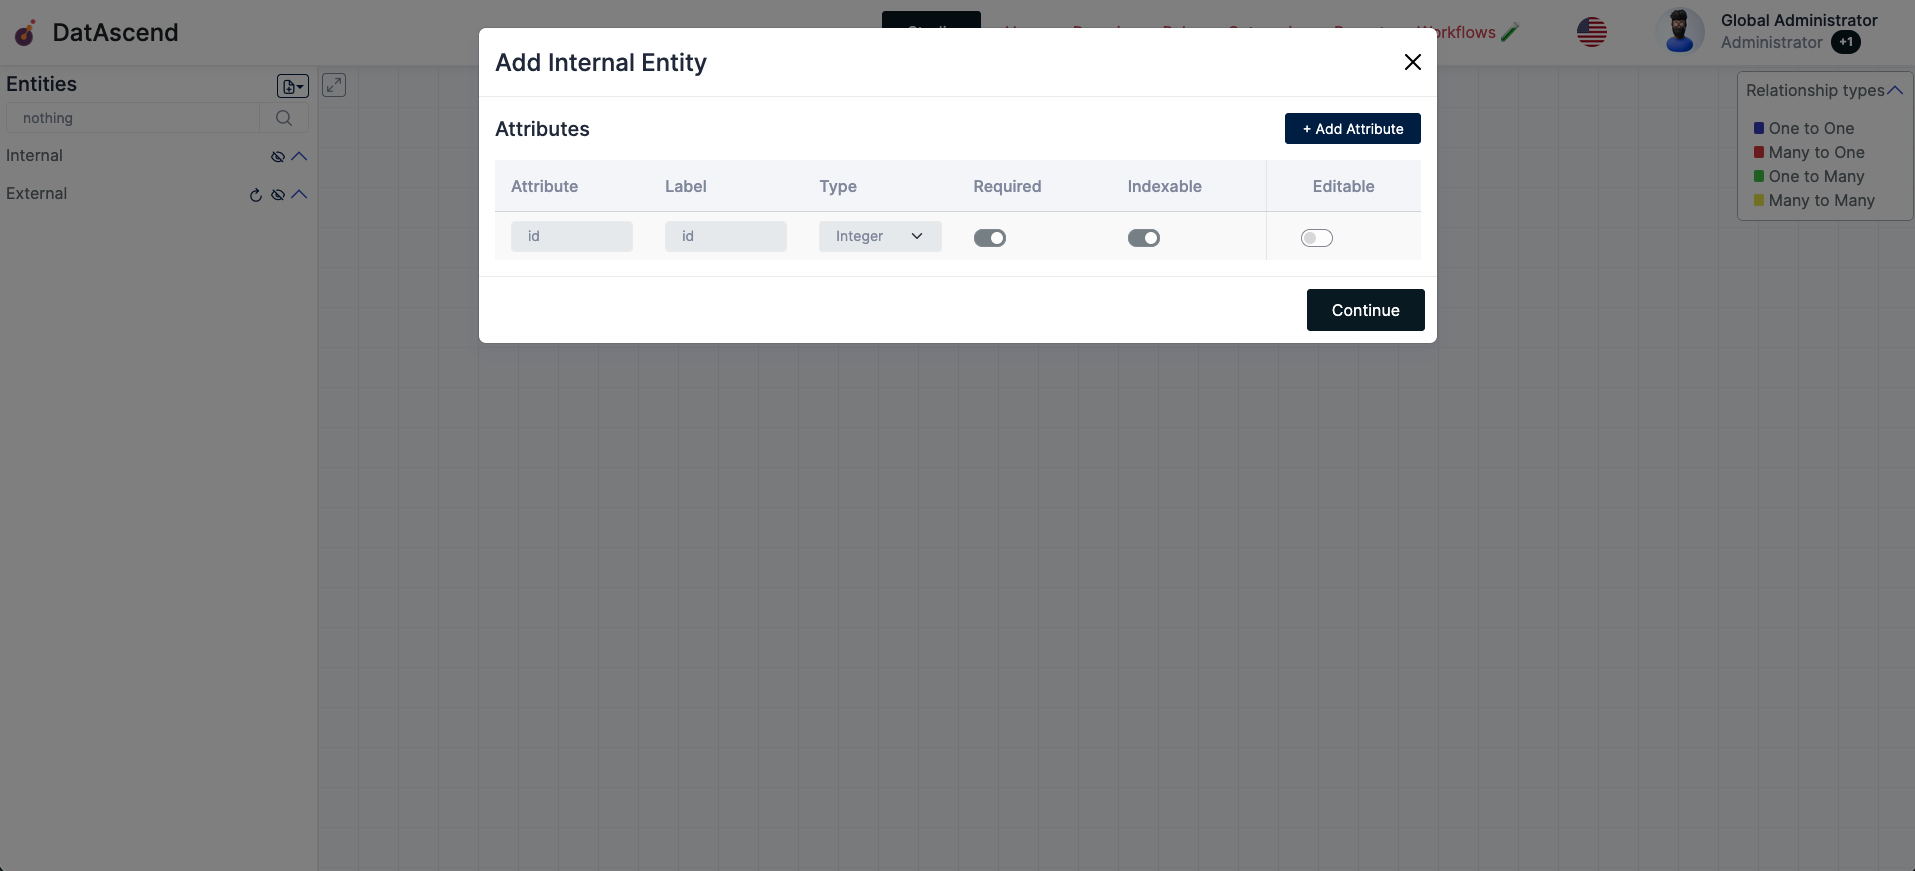
- In the next step you will see the
Attributestable, where the defaultidwill be added to your new entity. Here you can click the+ Add Attributeto add new fields to your entity, you can start modeling your data capture requirements here, description, photos, numbers, you name it, we have several field types for you to pick. ClickContinueto create a new entity
Note: Similar to the
Namefield on the previous step, theAttributetext gets automatically sanitized to a safe string
- Once your
Entityis created you will be able to edit it further, configuring all of the other fields properties, adding relations to other entities and any other configurations like permissions and translations
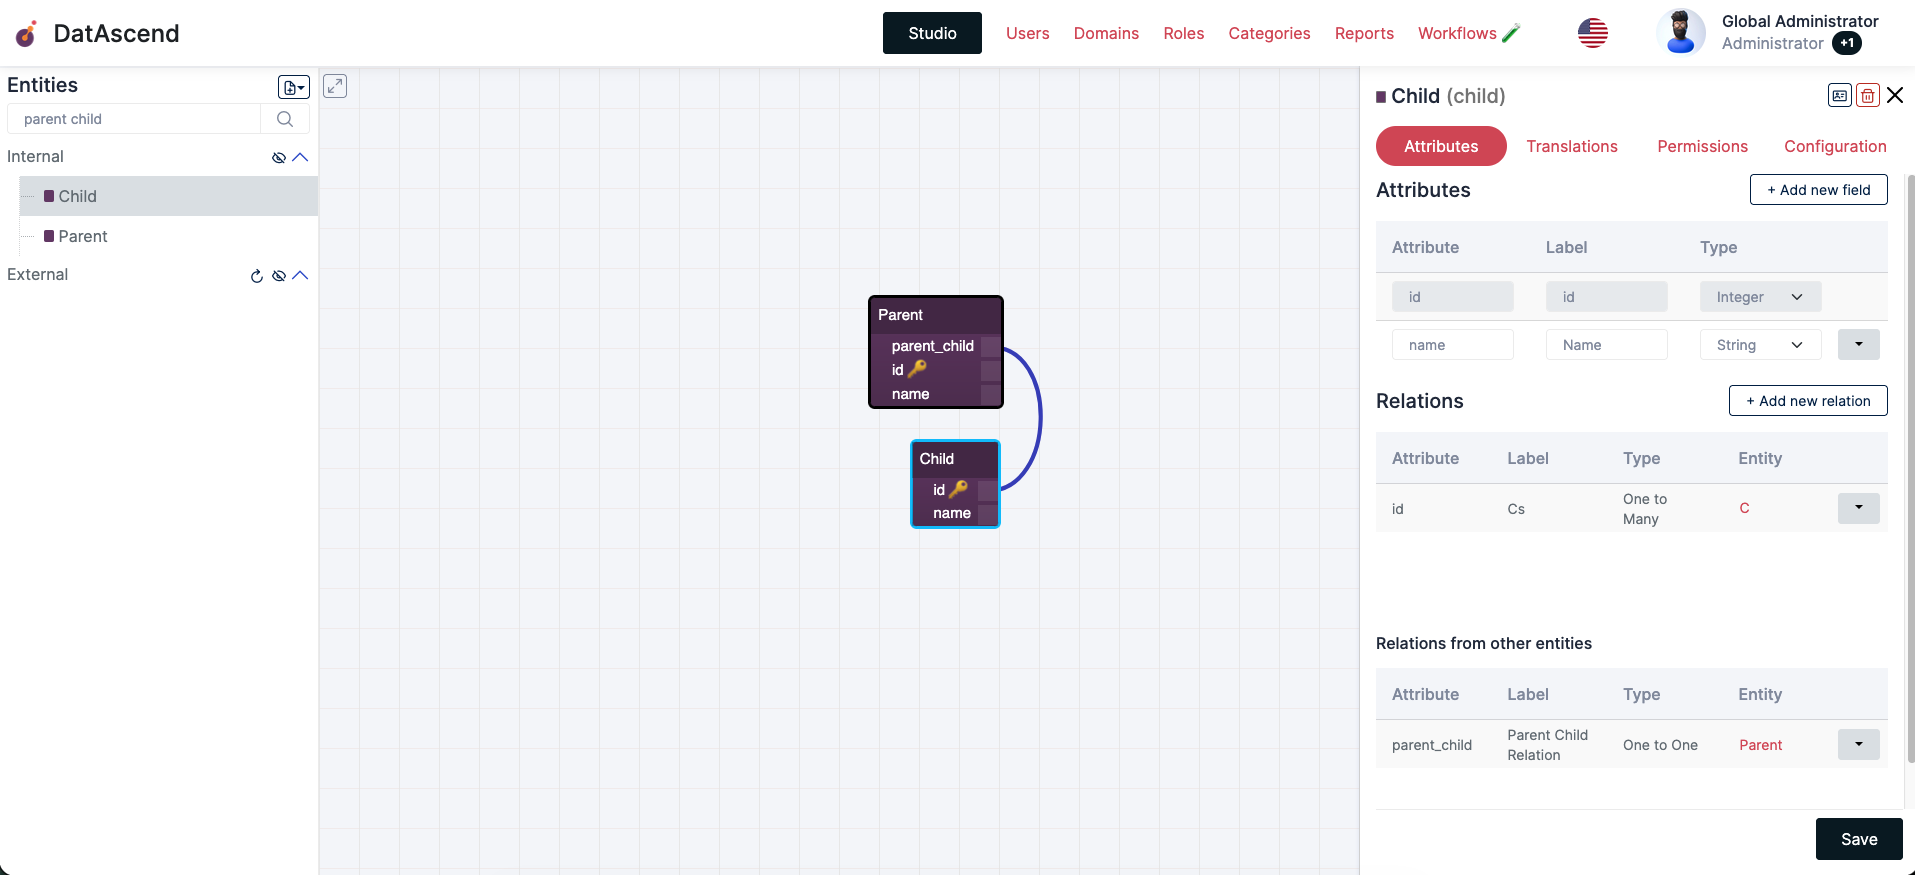
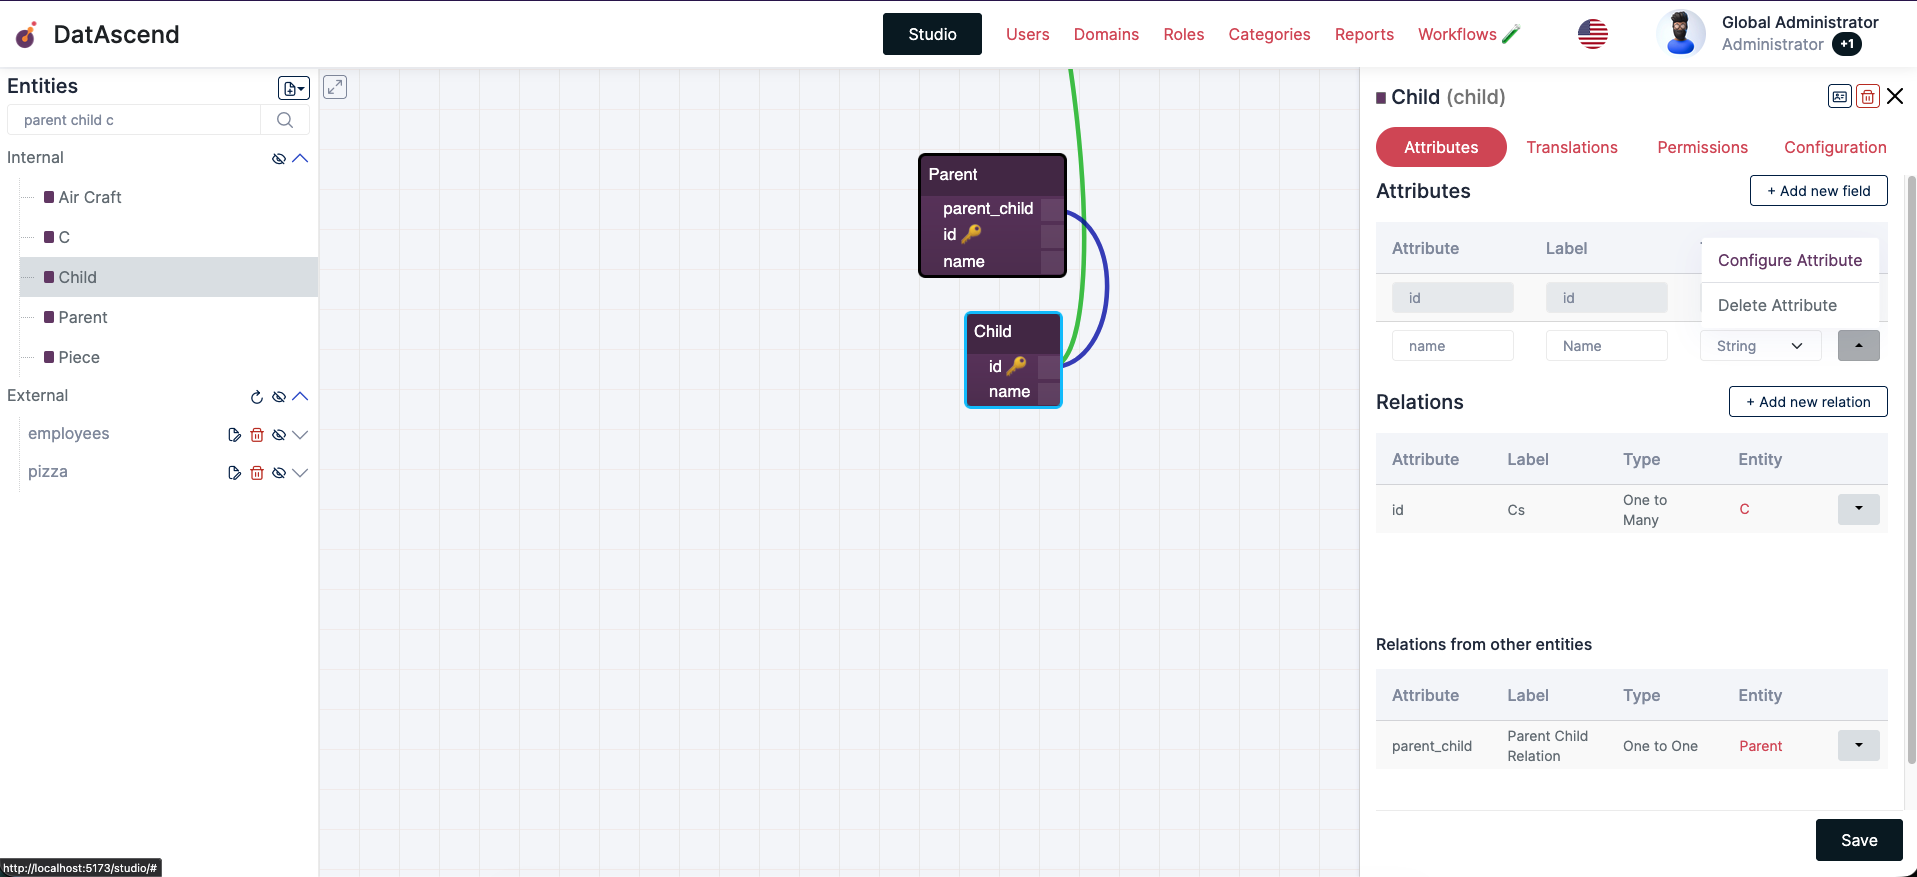
- Clicking the dropdown button at the end of each attribute row will display further actions on the attribute, click the “Configure Atribute” to see all available configurations
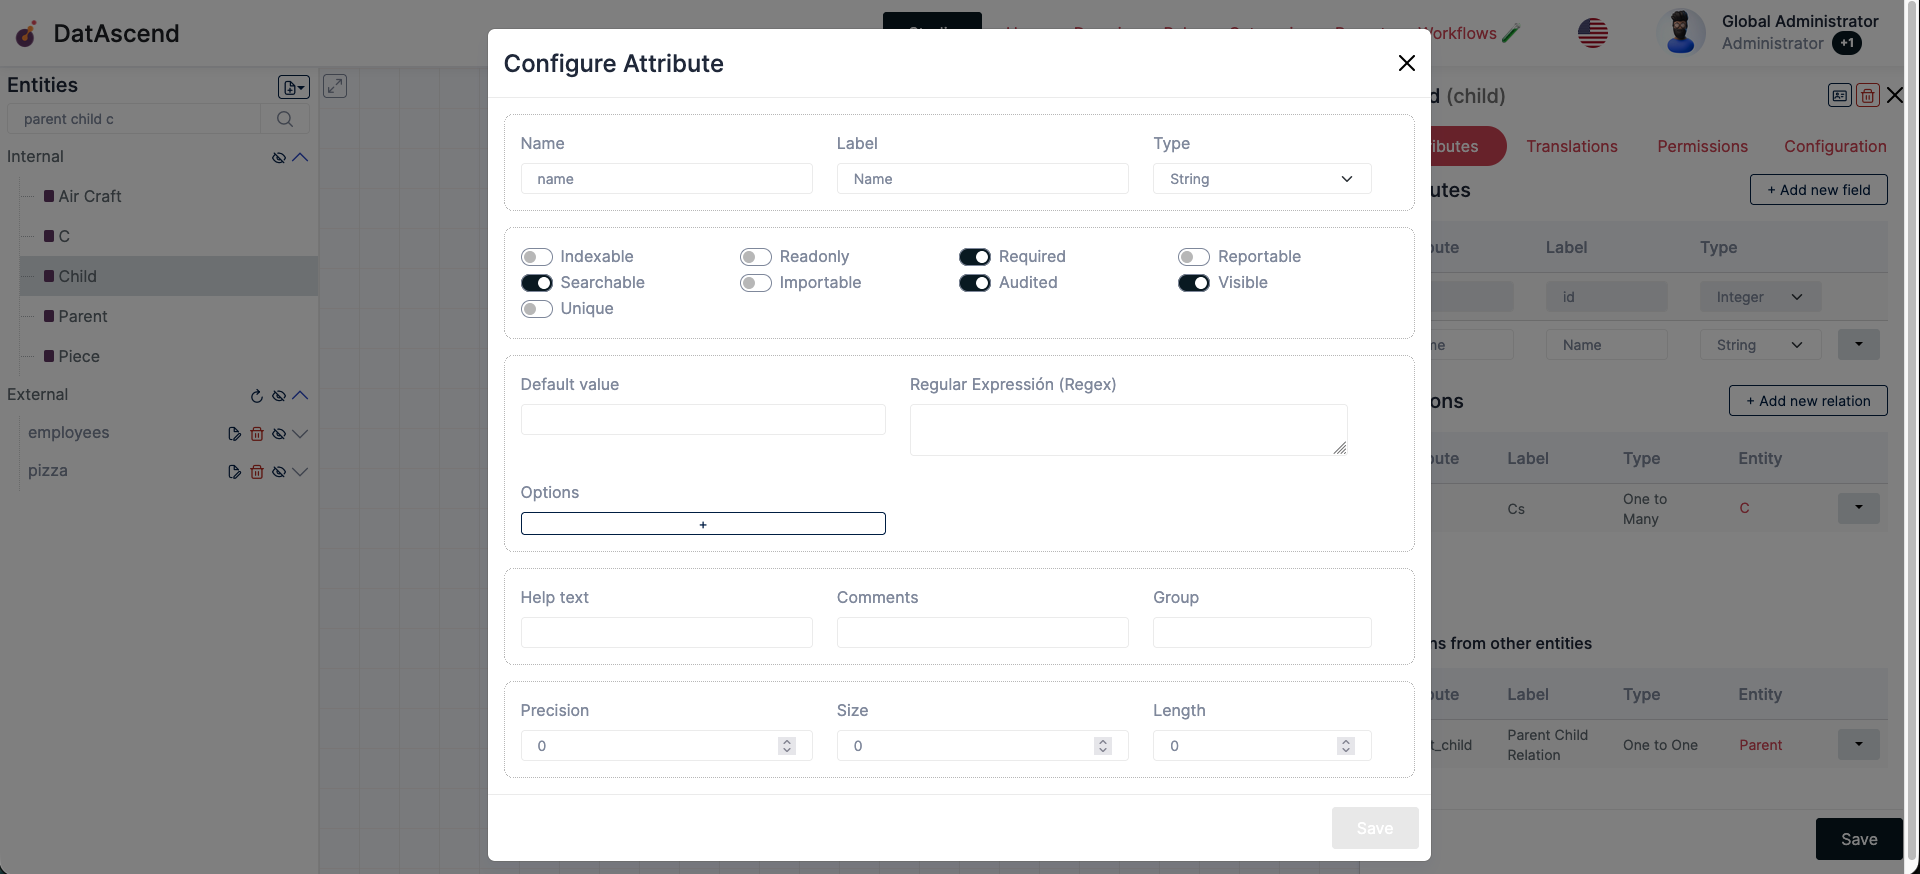
- You will see the following modal with all of the options you can configure for the field:
Configurations:
Section titled “Configurations:”
Name: The name of the field, automatically sanitized to a safe textLabel: The human friendly name of the fieldType: The select field holding the type of this field
Indexable: Logical toggle to indicate if this field needs to be indexed, usually true if you use it for references to other entities or you are going to regularly query records by this fieldSearchable: If the field can be used in filtersUnique: If the value of this fields should be unique across all recordsReadonly: If the field cannot be edited by usersImportable: If data imports can assign values to this fieldRequired: If the field must have a value to create a record for this EntityAudited: If its stored on audit changesReportable: If it can be used in reports queriesVisible: If it can at all be visualized by users in the system
Default value: The value this field should have by default when initially creating a new recordRegular Expressión (Regex): This is a more developer facing configuration, its based on the Regex syntax to indicate a pattern the string value should match, used most commonly to validate emails or indicate invalid charactersOptions: You can specify options for a field by clicking the ”+” button, it will show an entry withLabelandValueproperties to add options, use it to specify a limited set of values, for example a field “color” might only have 3 possible values “Red, Green, Blue”, here is where you specify them
Help text: Text used to provide some information about this field, to direct users on how to interact with it, will be displayed under the field when creating recordsComments: More information for the field, but it will not be visible right away, will be in a (i) icon, and the text will be visible when the user hovers itGroup: Used to group fields on the record editor view, usually specifies some text to logically separate fields in sections, fields will be grouped based on the value of this configuration
Precision: Used to specify the step numeric fields will give when increment or decrementSize: To indicate the width a field will occupy on the record editorLength: The max length the provided value can have
- After clicking
Saveon this modal, the changes will be staged on the field but unsaved on the entity, you will need to click theSavebutton on the details drawer to get them saved on the Entity
Configuring Translations
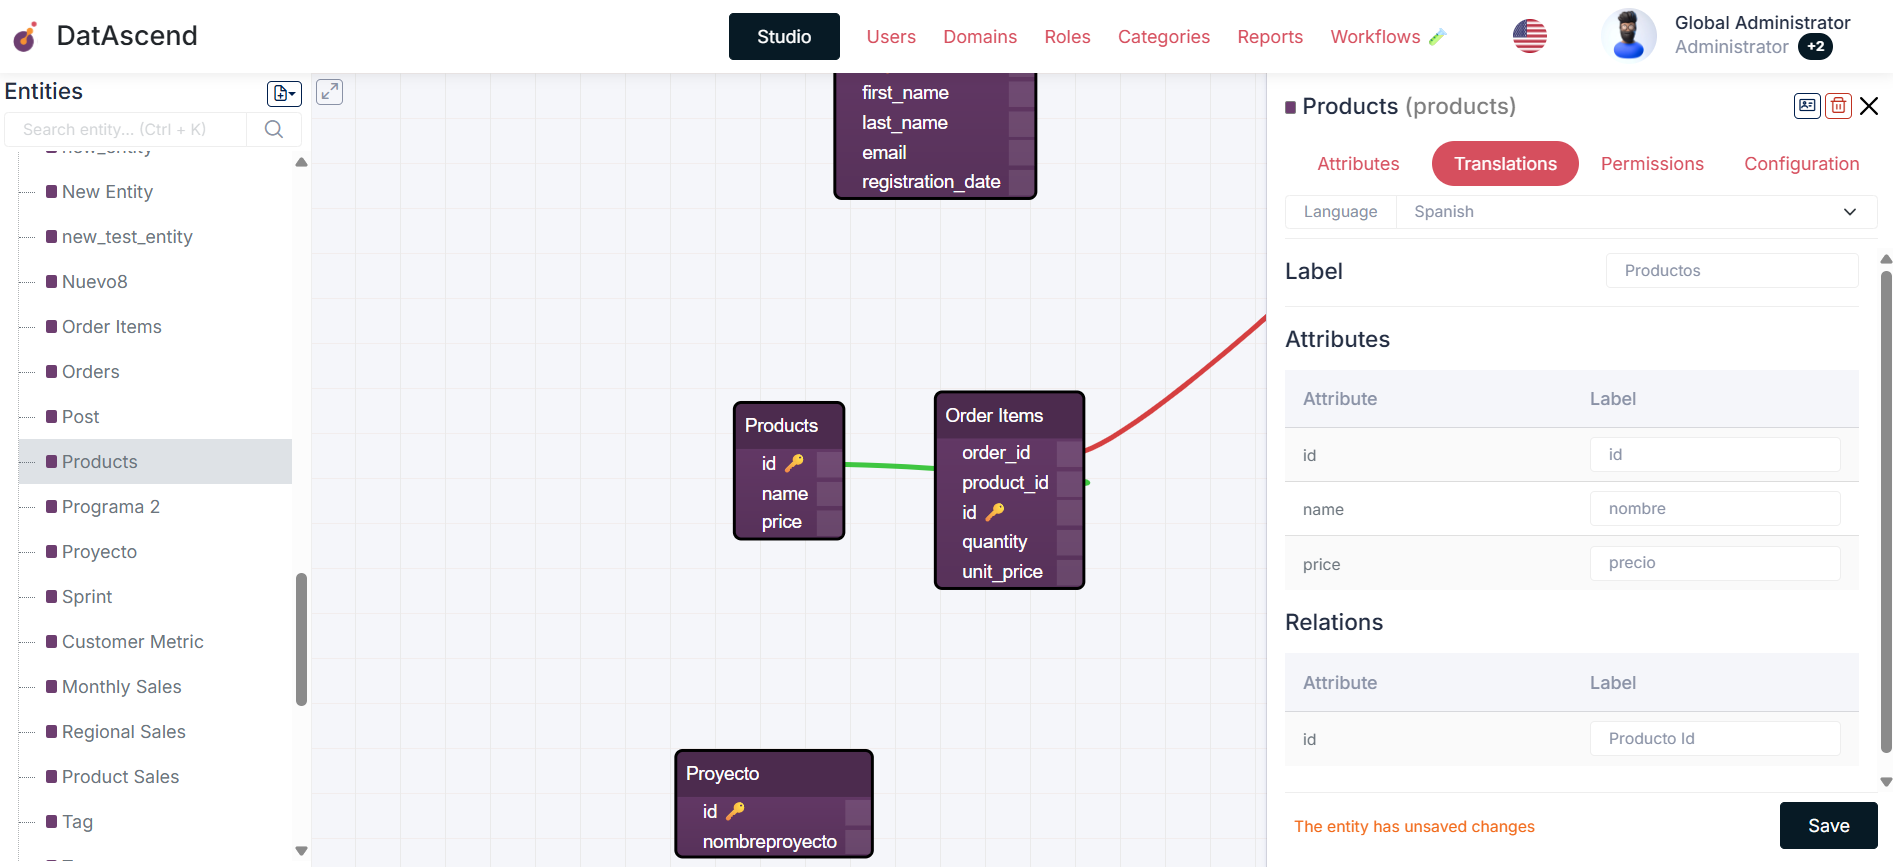
Section titled “Configuring Translations”Translations allow entity labels and properties to be visible in different languages. To configure them:
- In the entity details drawer, select the
Translationstab. - Select the desired language (e.g., English or Spanish).
- Provide translations for the entity’s attributes and relations.
- Click
Saveto apply the changes.
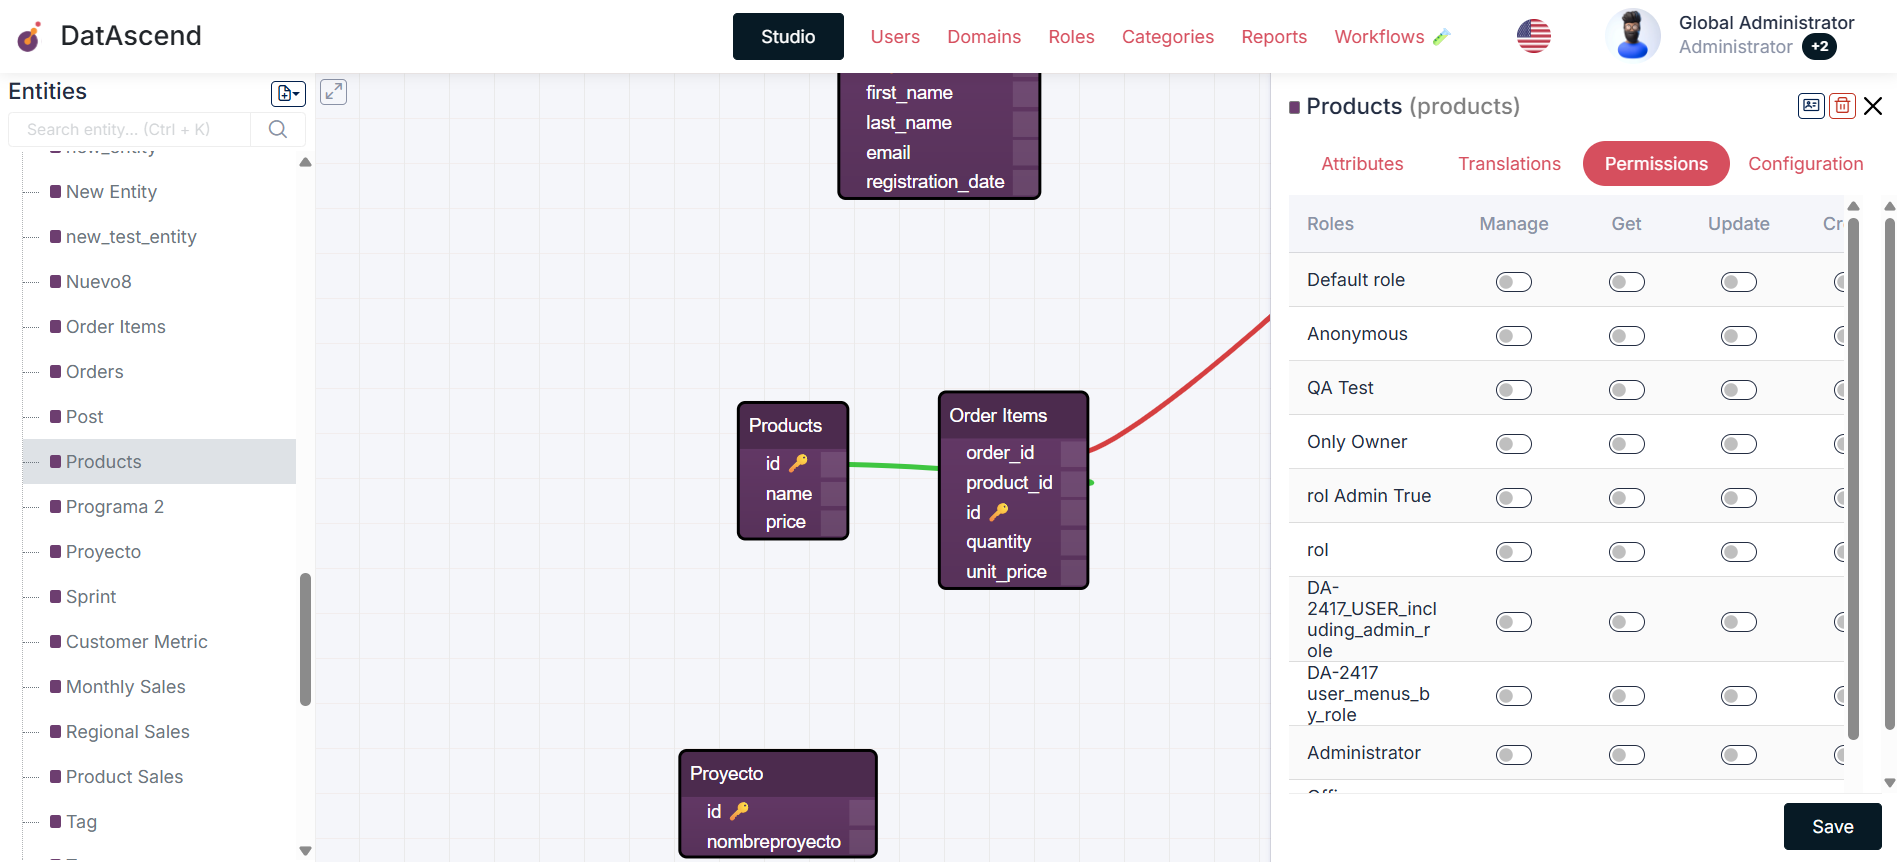
Configuring Permissions
Section titled “Configuring Permissions”To configure the permissions of an entity, follow these steps:
- In the entity details drawer, select the
Permissionstab. - You will see a table with available roles and permitted actions (create, read, update, delete).
- Check or uncheck the boxes according to the permissions you want to assign to each role.
- Click
Saveto apply the changes.
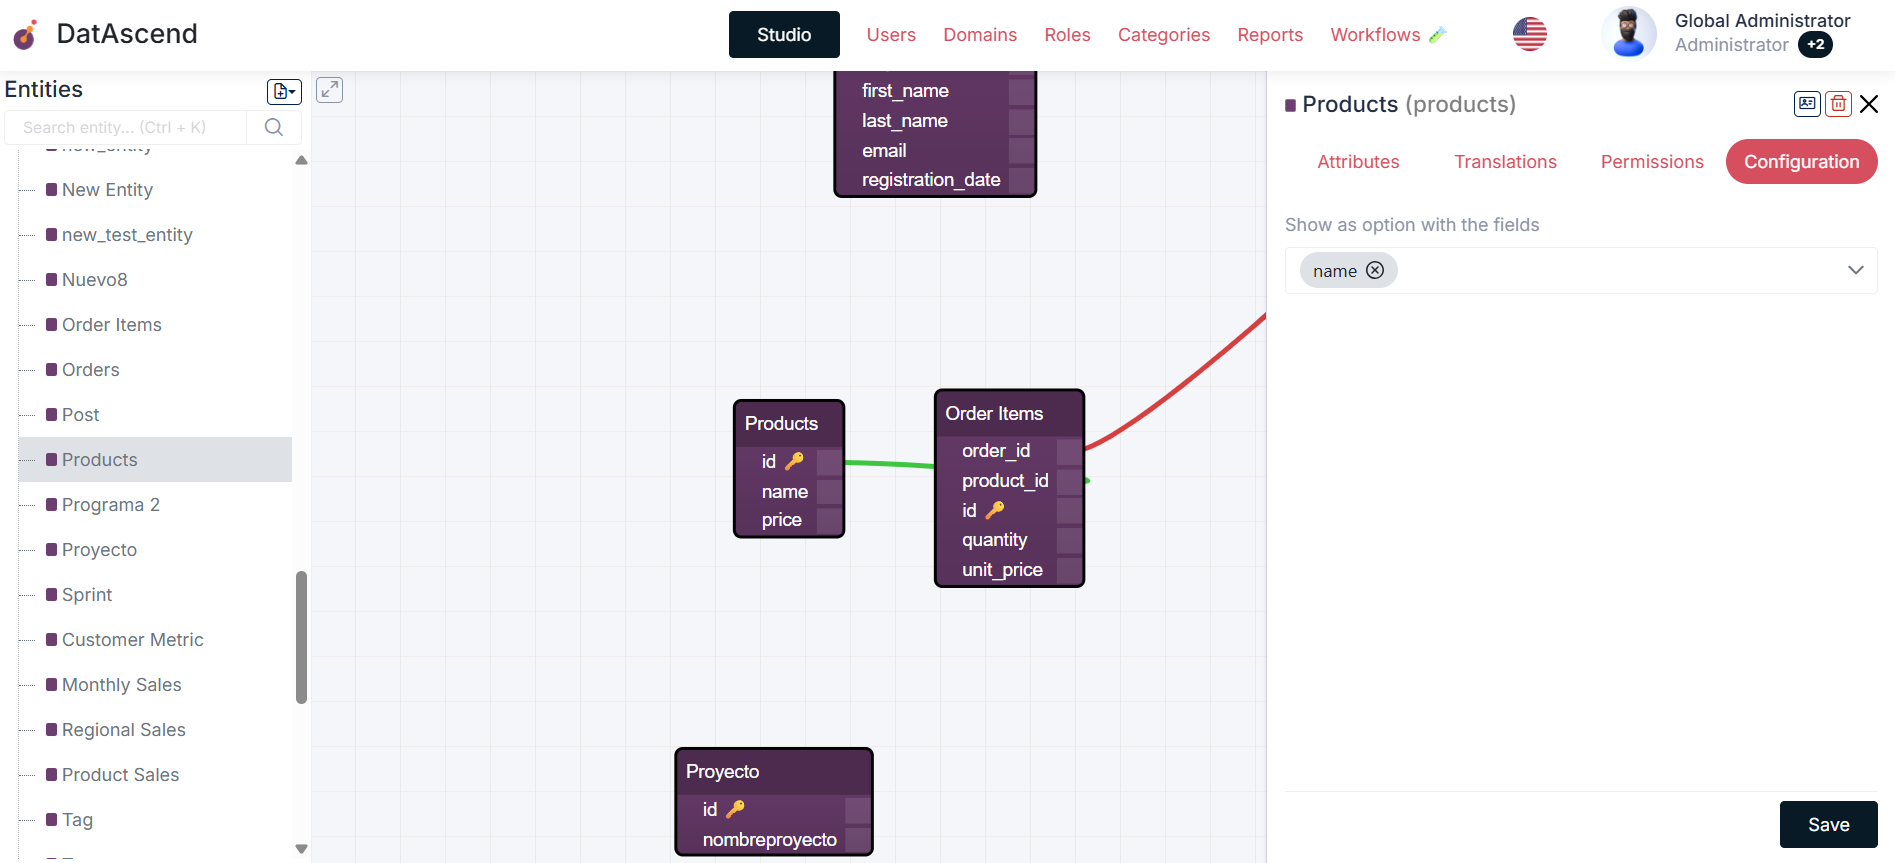
Configuring Dropdown Properties
Section titled “Configuring Dropdown Properties”To configure the properties that will appear in dropdown lists:
- In the entity details drawer, select the
Configurationstab. - Locate the
Show as option with the fieldssection. - Select the properties you want to include in dropdown lists.
- Click
Saveto apply the changes.
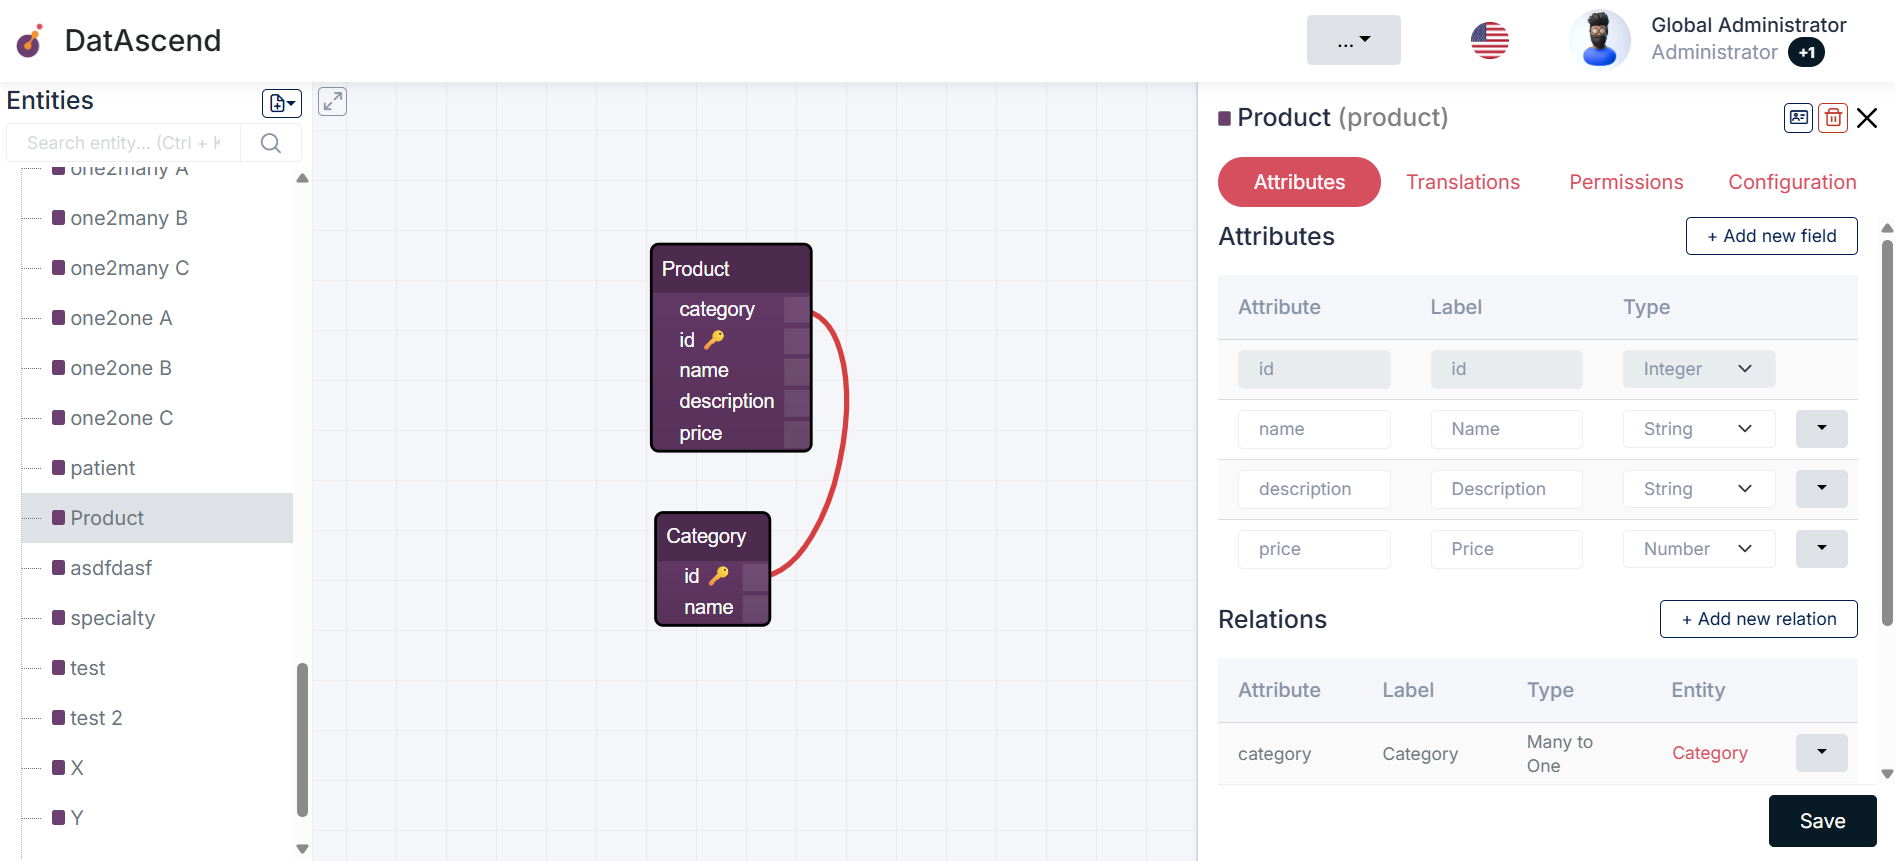
Common Use Cases
Section titled “Common Use Cases”Example 1: Inventory Management
Section titled “Example 1: Inventory Management”- Description: Create an entity
Productwith attributes likeName,Description,Price, andCategory. - Configuration: Add relations between
ProductandCategoryto organize products. - Best Practice: Use validations to ensure the price is a positive number.
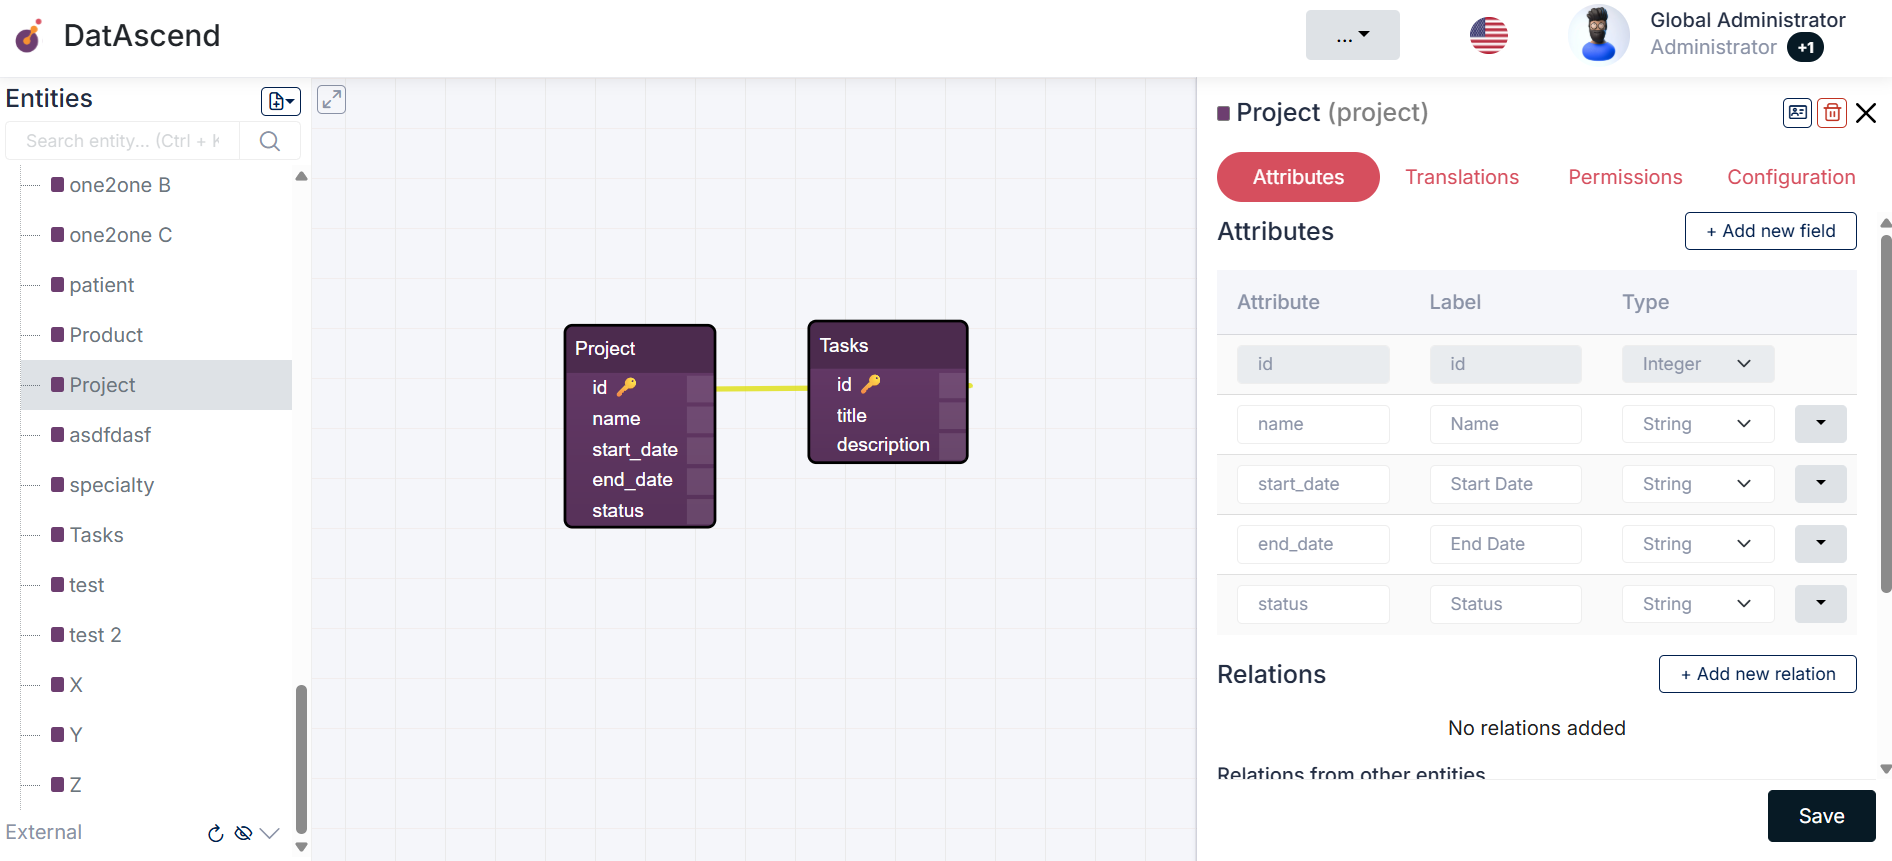
Example 2: Project Management
Section titled “Example 2: Project Management”- Description: Create an entity
Projectwith attributes likeProject Name,Start Date,End Date, andStatus. - Configuration: Add relations between
ProjectandTasksto manage related activities. - Best Practice: Use date fields to validate start and end dates, ensuring the end date is later than the start date.
Relations
Section titled “Relations”Relations configuration has its own set of complexity, so we will cover it on the next page.